Volume II: Buzz Lightyear-Inspired Cake Pop Balls
With Toy Story 5 recently making its debut on Disney+, we wanted to find a Toy Story treat that would be perfect for a family movie night and something that my two kids, currently ages 5 and 3, could help make. After searching through my various Disney cookbooks, we settled on “Buzz Lightyear Galaxy Cake Pops” from Disney Eats, written by Joy Howard.
I chose this recipe because it had a short list of necessary ingredients, and I knew it would be relatively easy to make substitutions based on what we already had on hand if necessary. It also looked like something the kids would easily be able to help with, which was one of the main reasons I started this series. For our first attempt, we made Chocolate Hazelnut Lunch Box Tarts inspired by the ones at Hollywood Studios.
My kids are both really picky eaters, and believe it or not, even getting them to try sweet treats is a challenge. My hope is that by having them help make the things I’m asking them to try, they’ll be more likely to actually say yes since they were a part of the process from the very start.
In this post, I’ll share our approach to making Buzz Lightyear-inspired cake pop balls with my two young kids, how we made our own version of this popular treat, and whether I would recommend trying this recipe yourself with your own kids.
Getting Everything Ready
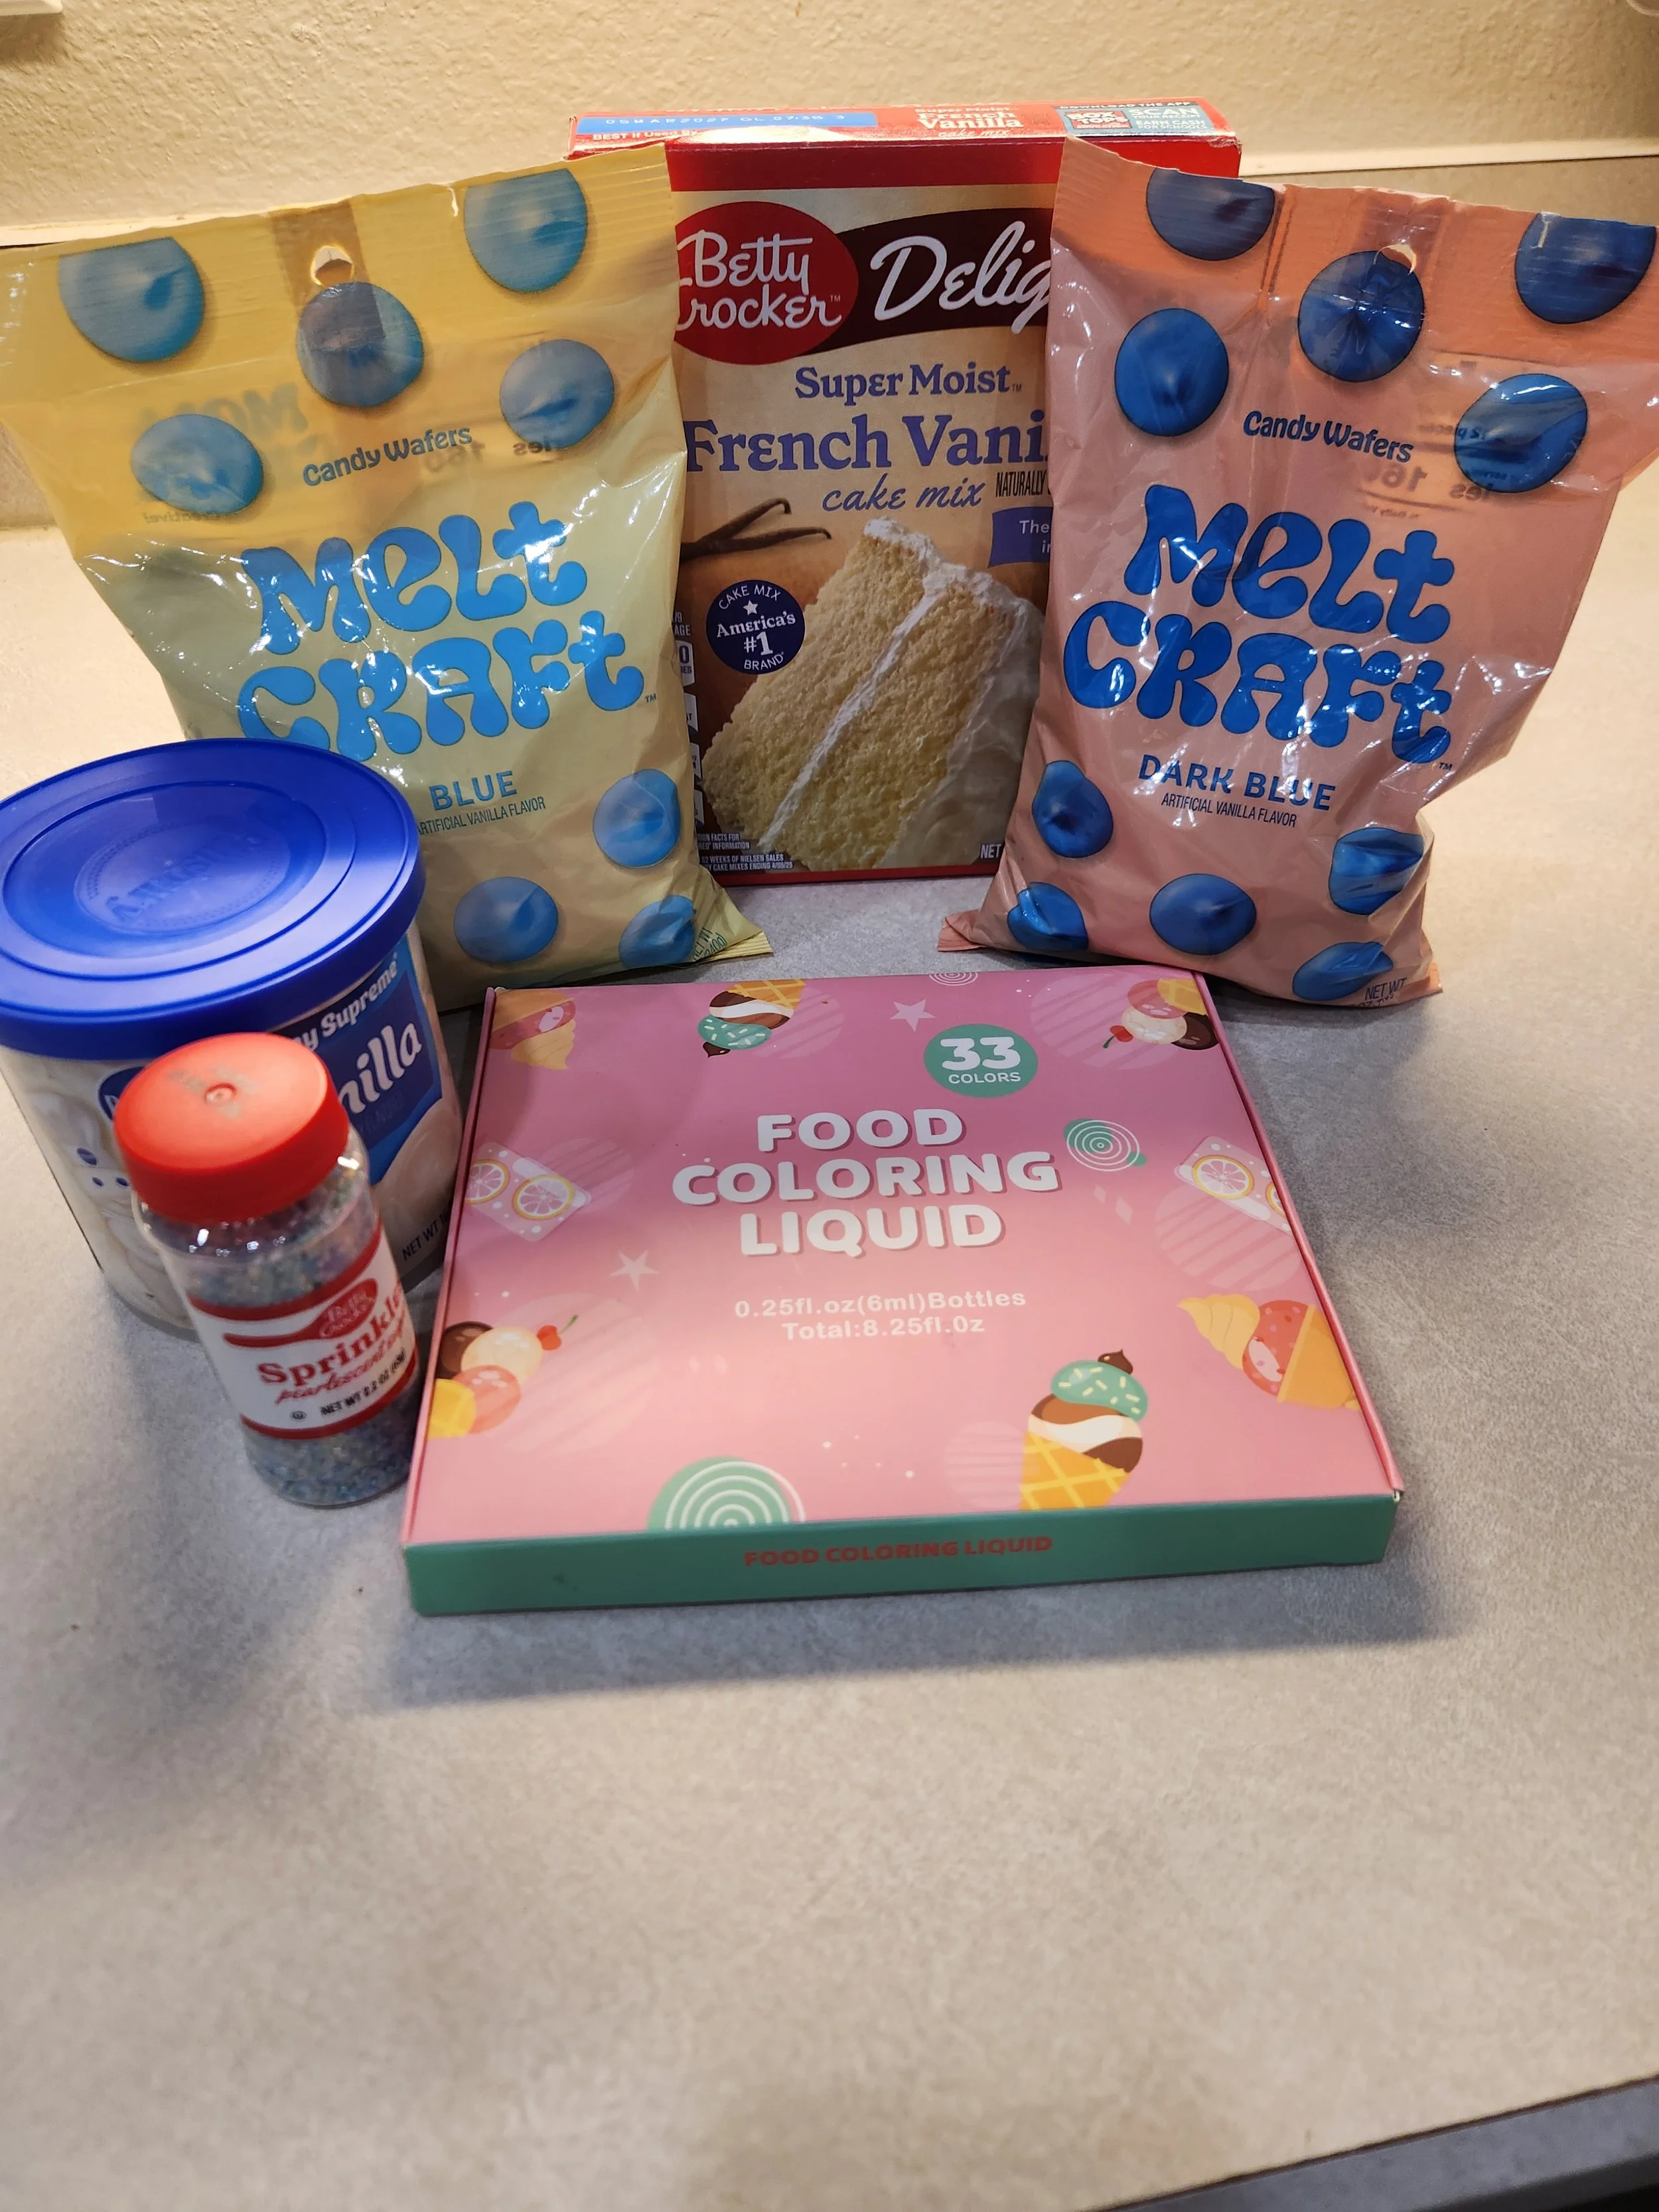
My first step when approaching these recipes with my kids is to go through the list of ingredients, and figure out what things I already have and what things we’re missing. Of the items we’re missing, I’ll check to see if I can make any substitutions or adjustments to limit what we need to go out and actually buy from the store.
For the cake pops, the recipe called for 8 cups of cake crumbs, frosting, special decorating sugar and star-shaped sprinkles, lollipop sticks, and different colored candy melts. We typically have box cake mixes and some frosting at home, and I had all the necessary components to make the cake as well.
I didn’t have any lollipop sticks, and I learned an important lesson, (thankfully before we made these): there’s a pretty big difference between crafting popsicle sticks and those you can use to make popsicles. That difference is splinters. If you want to use popsicle sticks as a substitute for lollipop sticks, make sure they’re food safe. Otherwise you run a risk of them splintering in the food.
With a lack of sticks, I decided rather than buying a package of them, I would simply pivot from making cake pops to cake balls.
As for the candy melts, I had white chocolate on hand, so I decided to use that, and I did get a few different colored candy melts from the store since I had to go there anyway. However, they didn’t have the “galaxy colors” listed in the recipe, like purple and turquoise. Our store only had different shades of blue, so we decided to go with that rather than making another trip or buying a huge supply of them from Amazon that I felt like I wouldn’t ever actually use again anytime soon.
Lastly, instead of buying specialty decorating sugar and star-shaped sprinkles, we decided to use sprinkles I already had at home that were different shades of blue and I thought would go well with our candy melts. They’re actually the same sprinkles I used when making our Frozen-themed treats. If you want to read more about our Frozen-inspired day, you can check out the full post here.
With all the ingredients secured, making any necessary adjustments and substitutions along the way, it was time to get baking!
Making the Cake With Two Young Kids
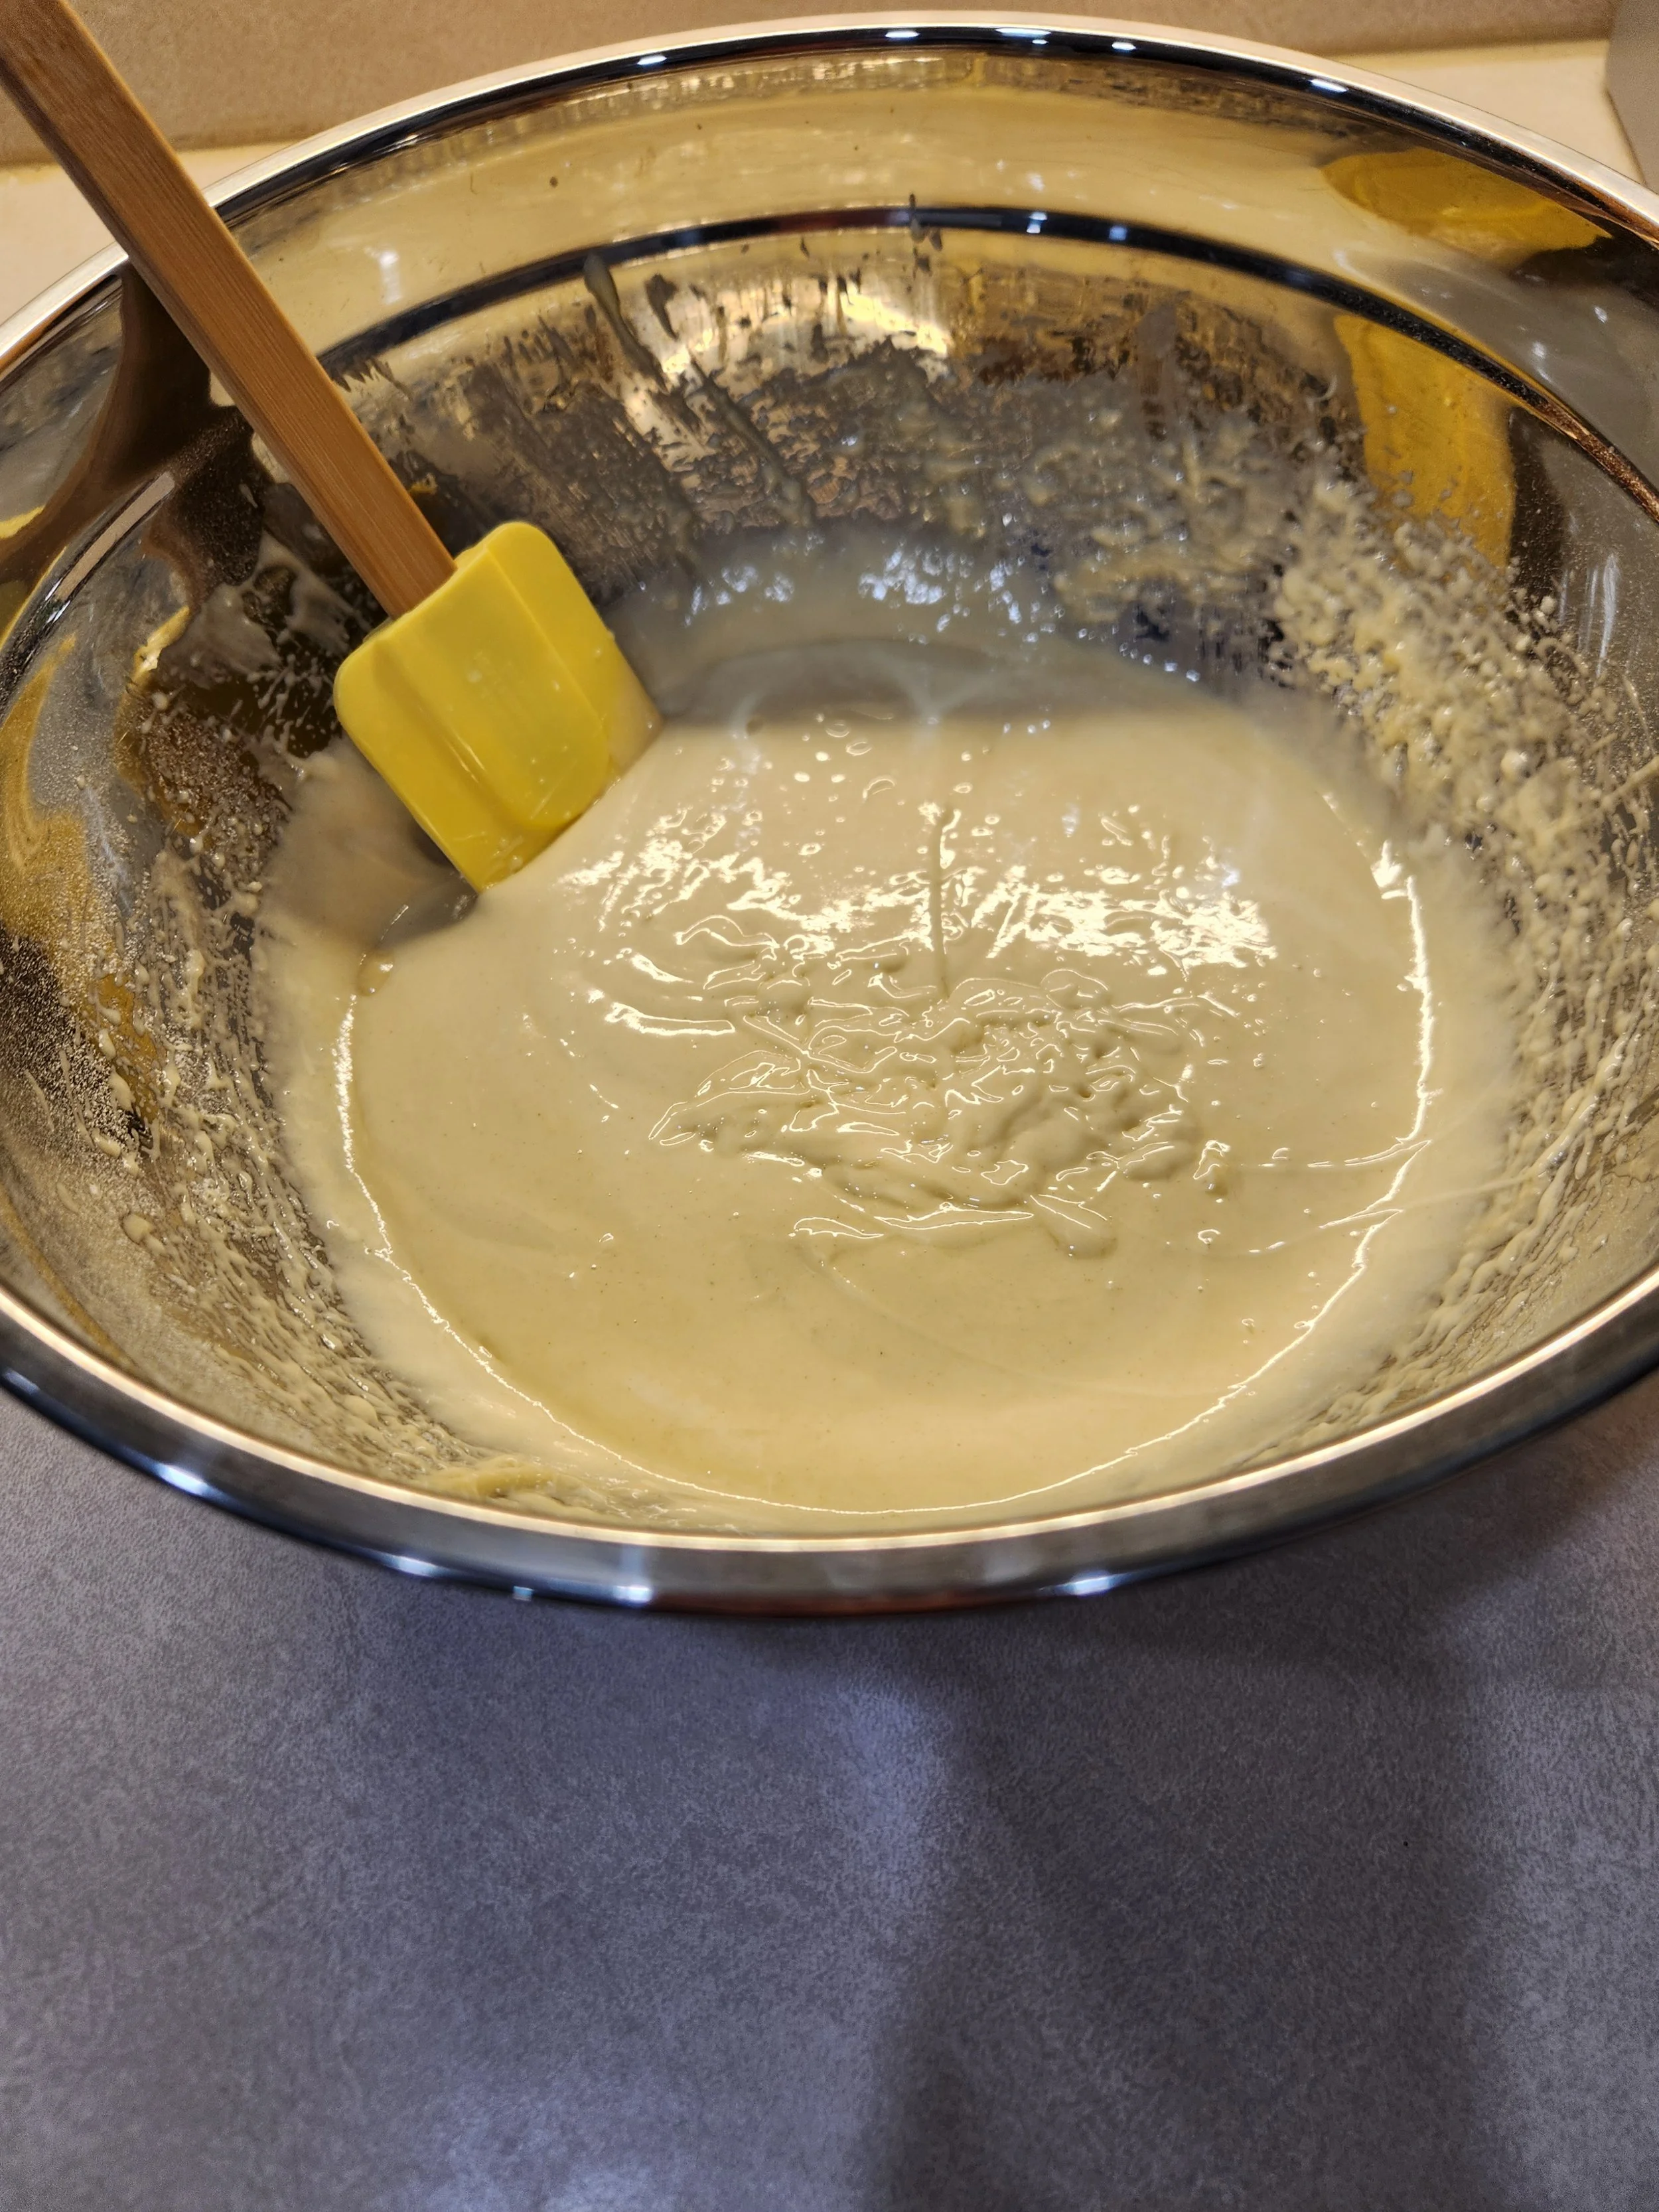
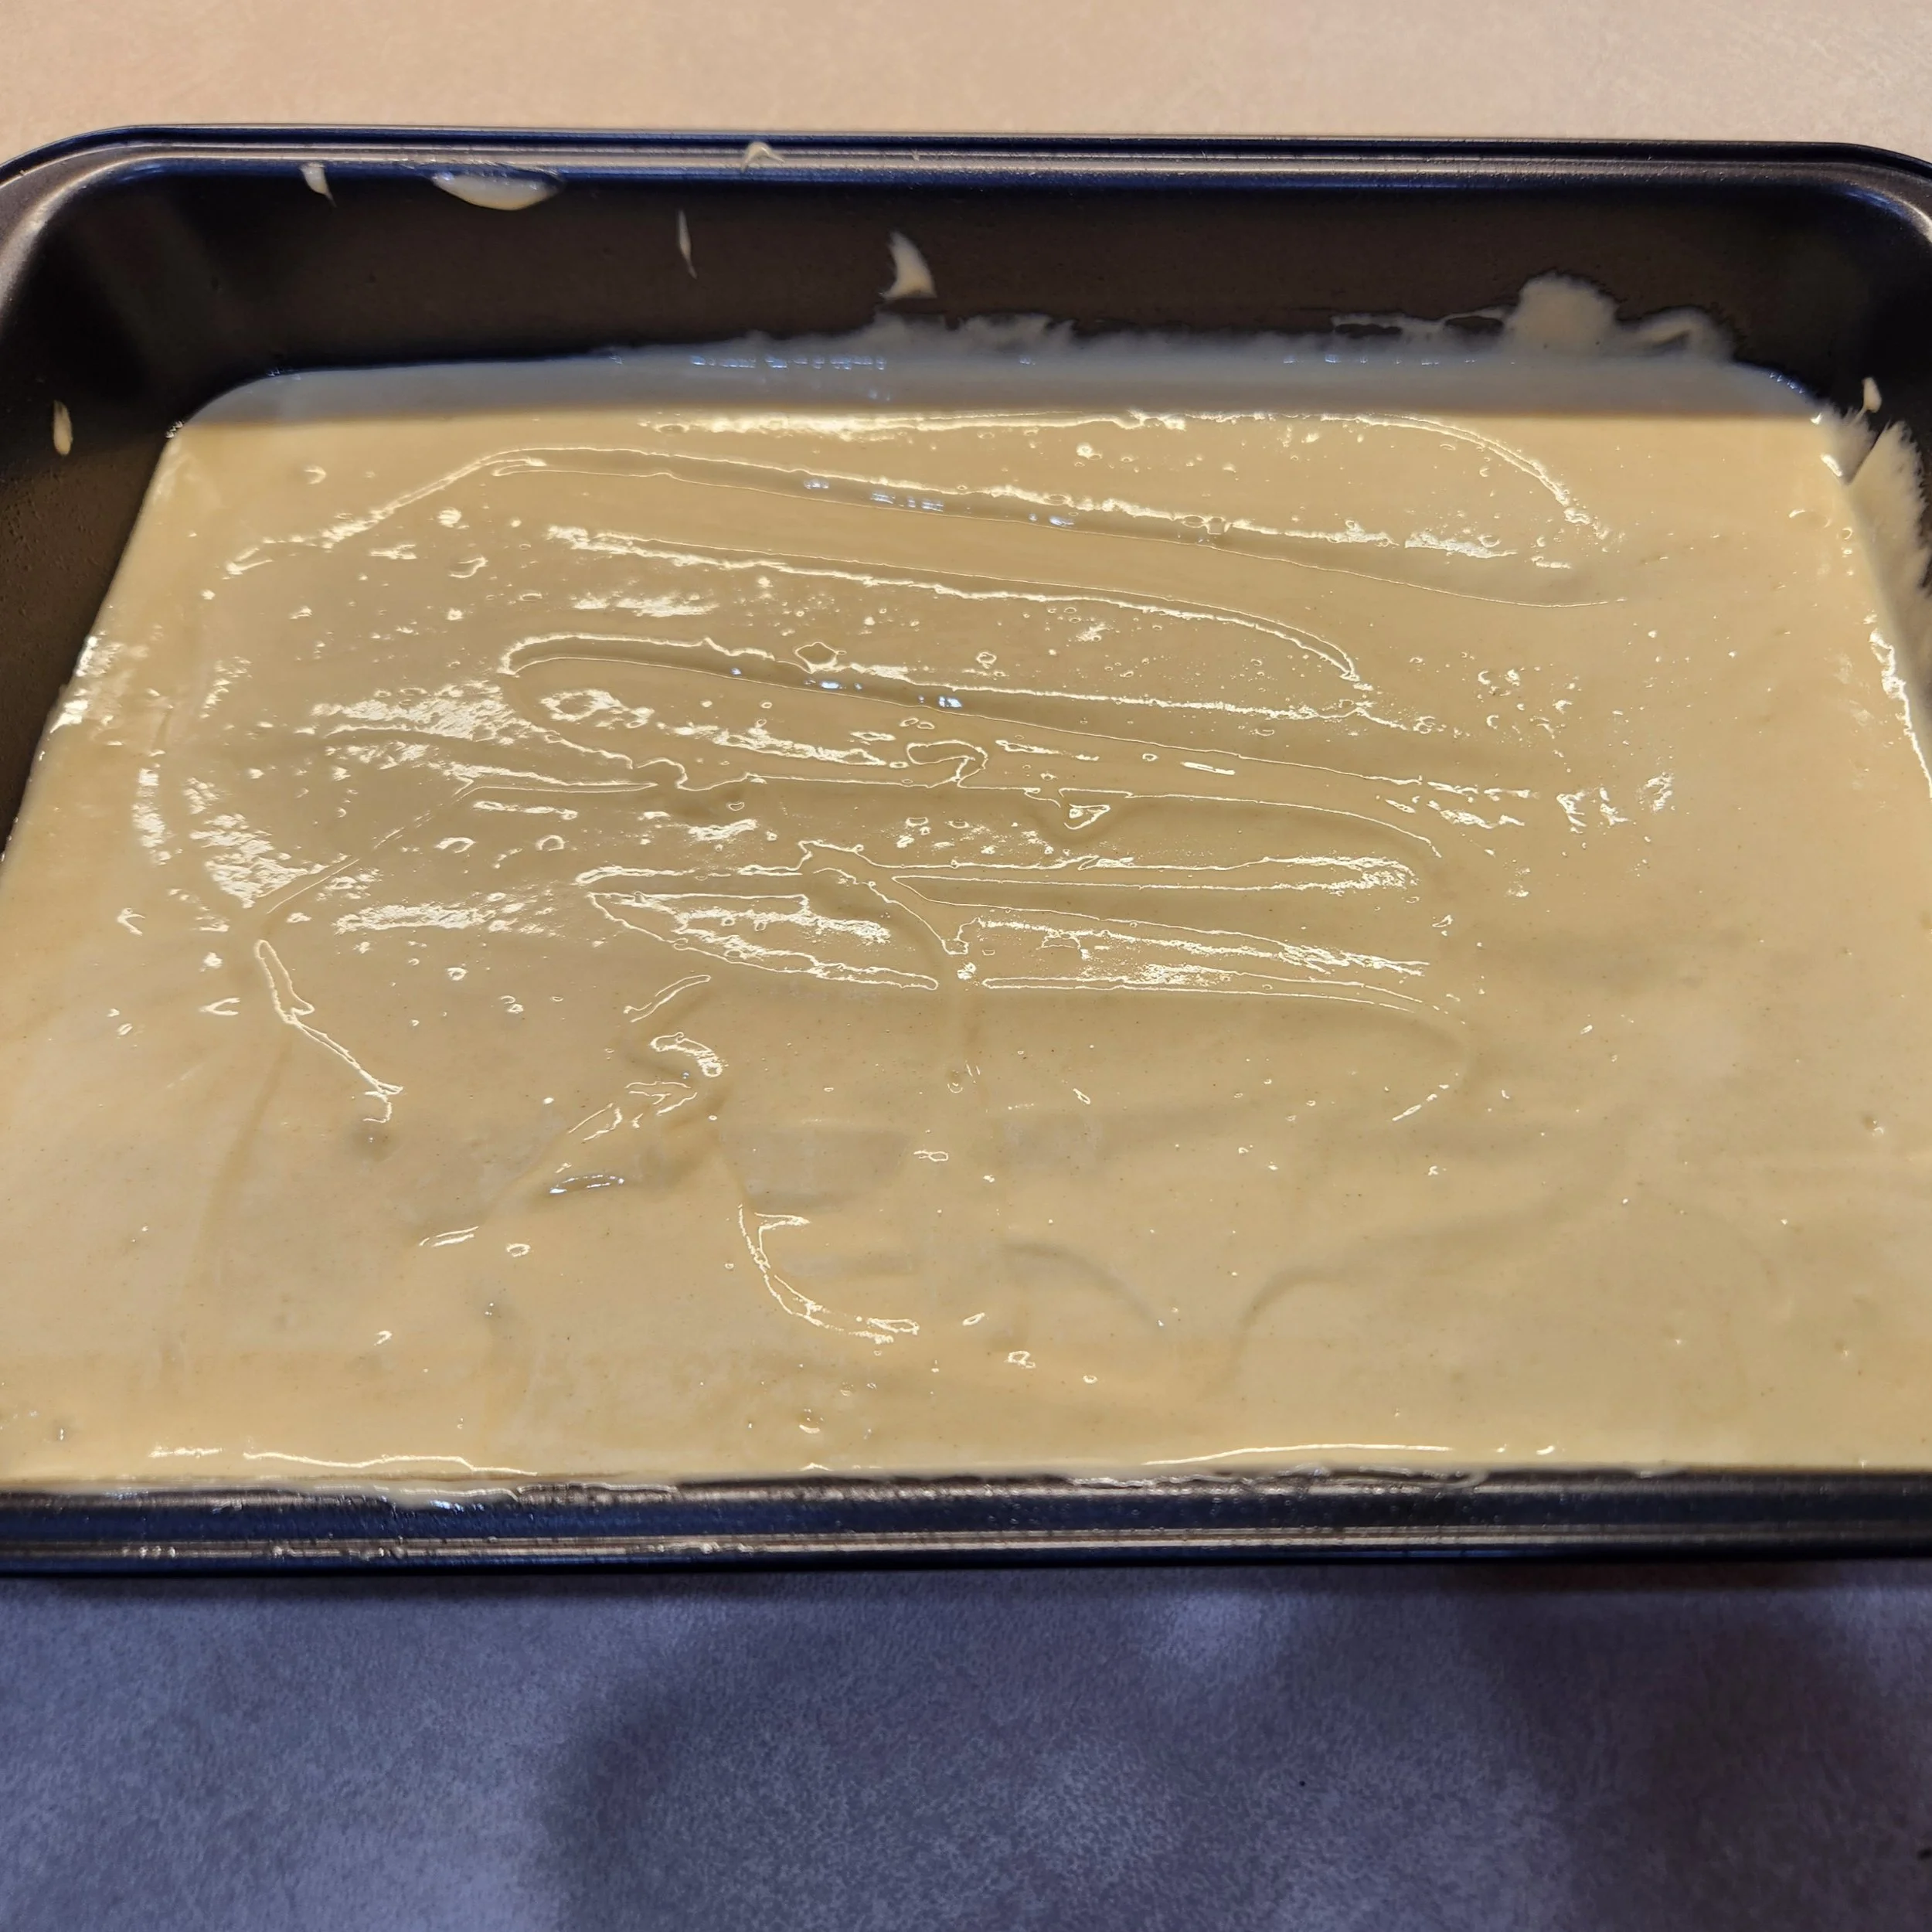
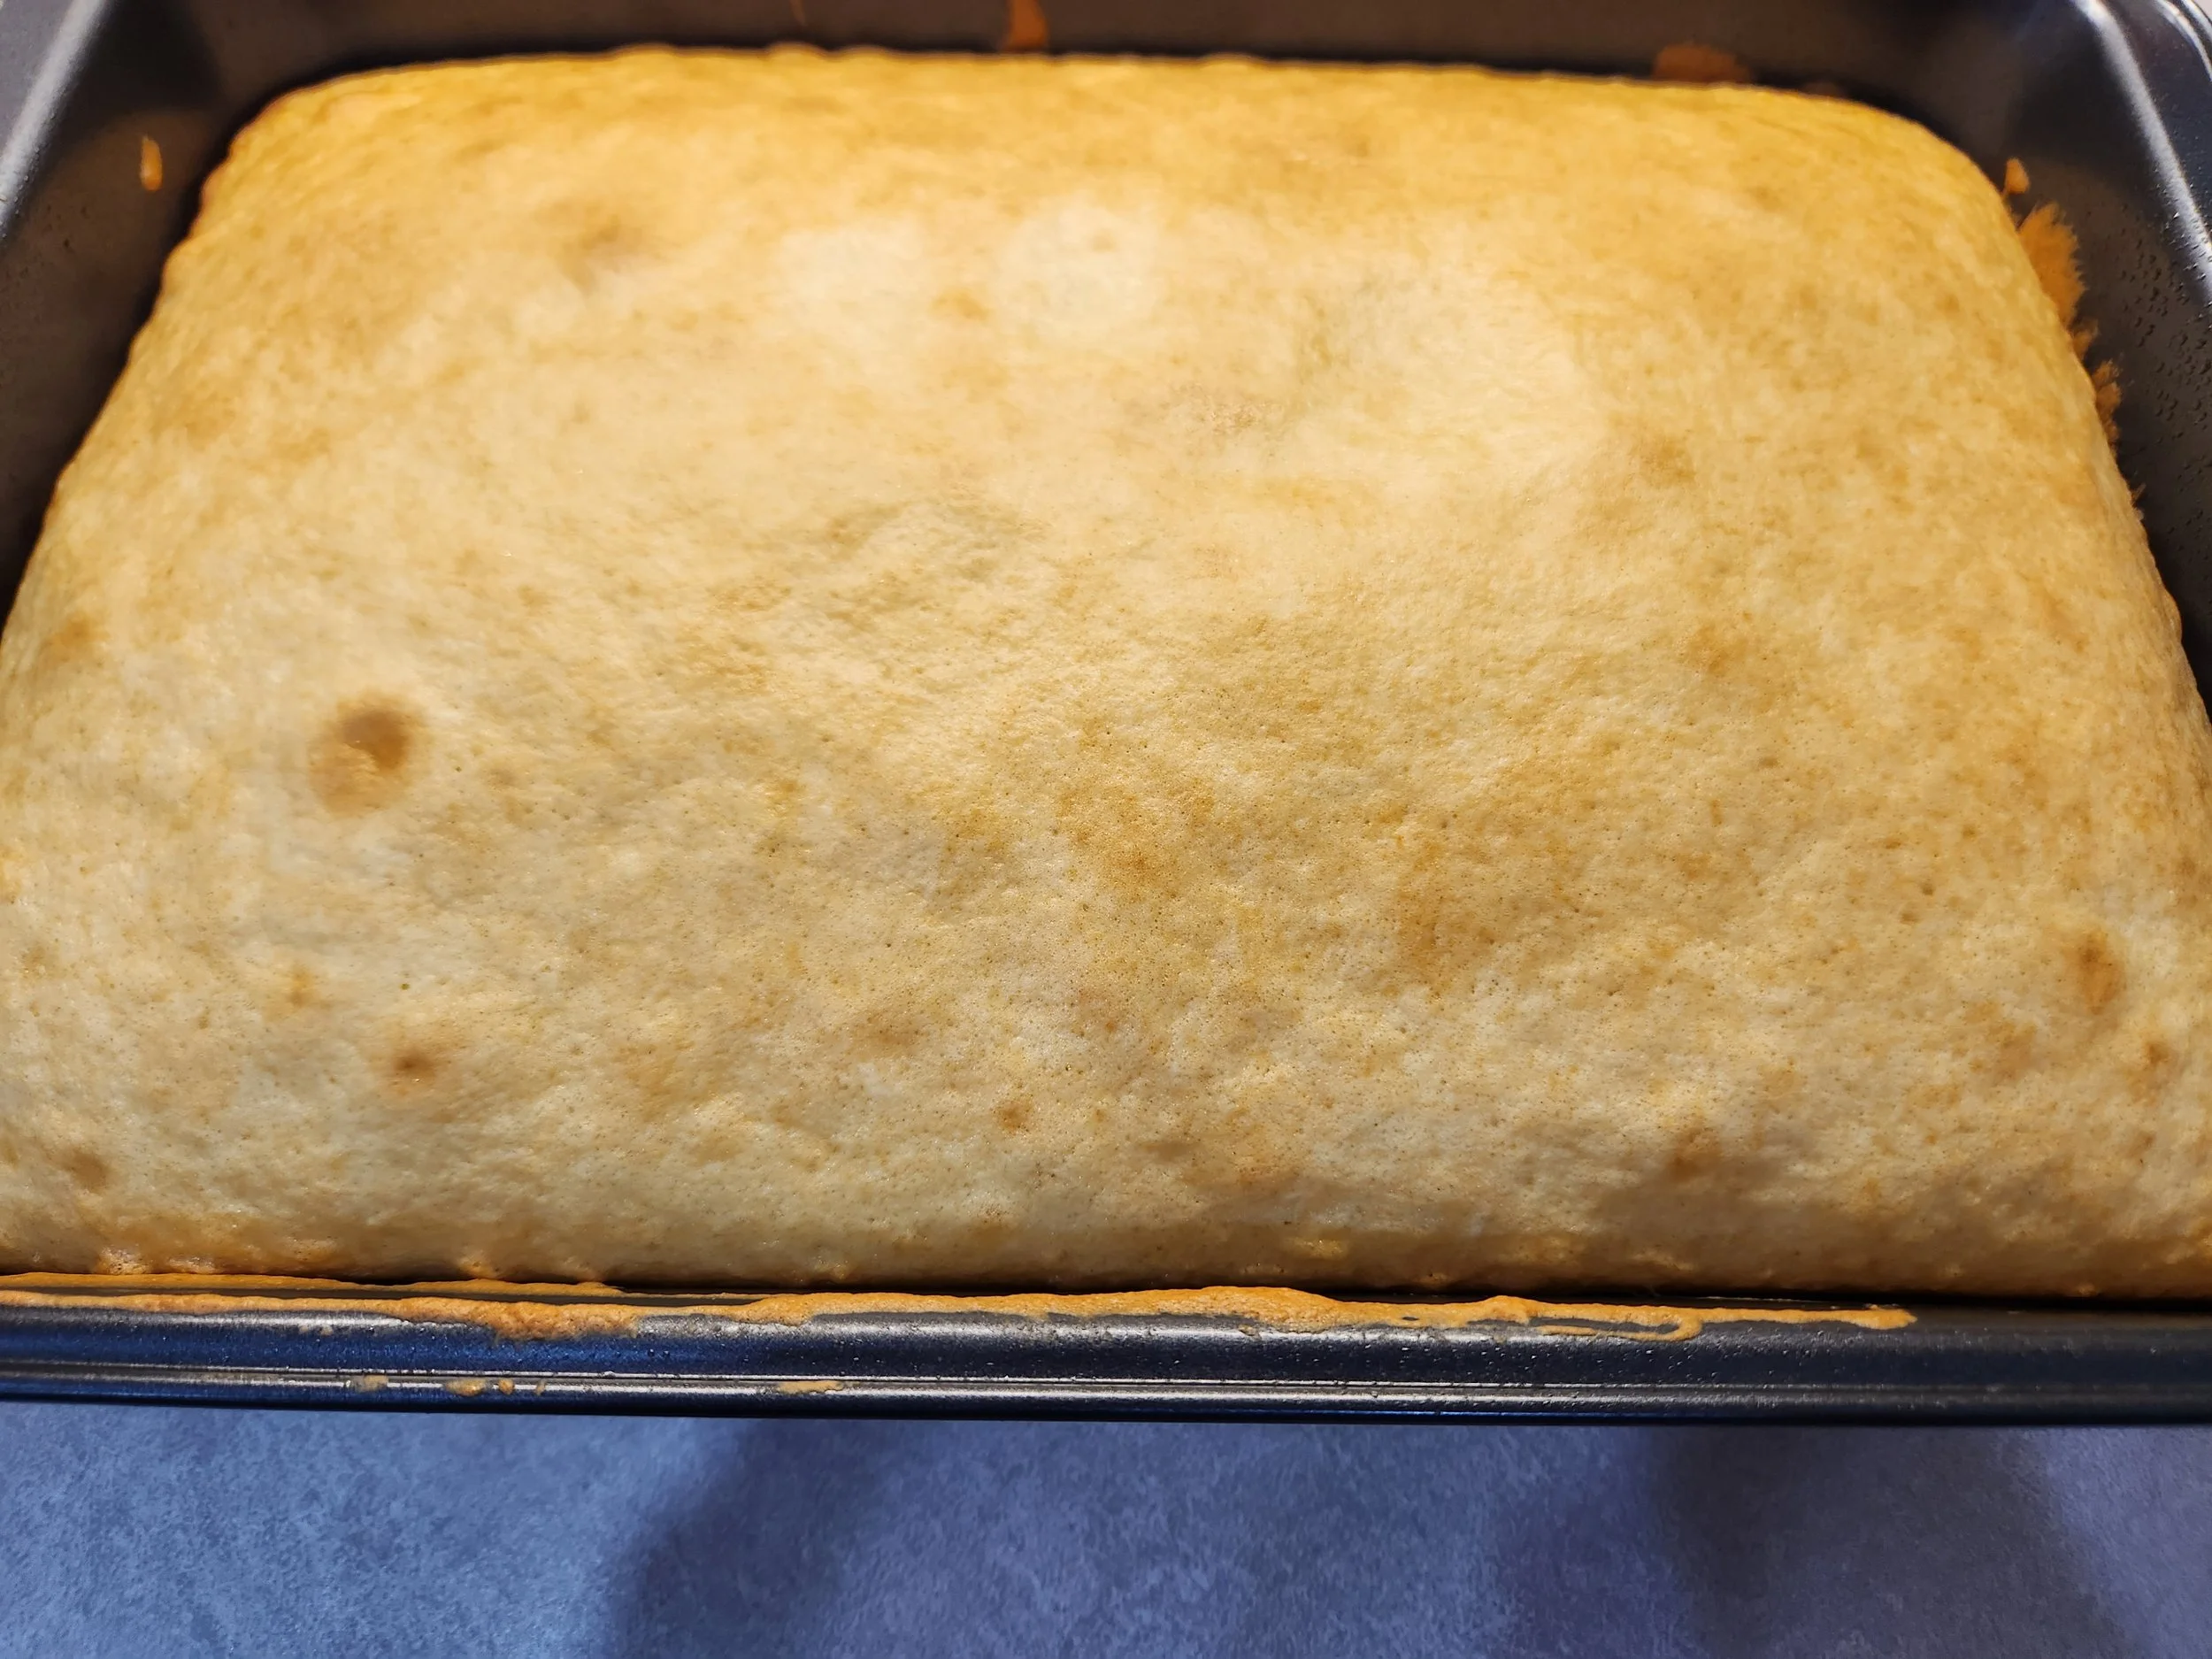
My younger son loves to help in the kitchen, and my older son is beginning to enjoy it more, so they were pretty excited to help make the cake. Using the box cake mix makes it a little easier since all the dry ingredients are prepared for you. Recipes that involve pouring things into the bowl are fun to do with kids because it’s something easy for them to do, but still an important part of the process so they feel a sense of accomplishment when they’re done.
You can use whatever cake and frosting flavors your family likes. We had vanilla cake and frosting at home, so those are the flavors we used, but any combination will work.
I divided the pouring of ingredients between the two of them, let my older son help crack the eggs and I used a hand mixer to finish off the batter. Once it was ready, we poured it into our cake pan. We just used a standard 9” x 13” pan since the shape doesn’t really matter because you’ll just be crumbling it all anyway.
Surprisingly, once the cake was in the oven, this is where my 3-year-old lost interest and never came back to the project. I thought maybe the prospect of decorating would catch his eye, but on that day he decided playing with his toys was more exciting, so from here on out it was just my 5-year-old me.
We set the oven timer and baked the cake according to the package instructions. We then took it out and let it cool completely, which took a couple of hours. If you try to do the crumbling and assembling when the cake is still warm, not only will it be uncomfortable for you to handle, but your frosting will likely melt and it won’t hold its cake ball shape.
So while the cake cooled completely, my kids went and played and I took a few minutes to set out what we would need next for the assembling and decorating. I let my kids know ahead of time that there would be a break in the middle of the process while the cake was cooling so they weren’t surprised.
Turning Our Cake Into Cake Pop Balls
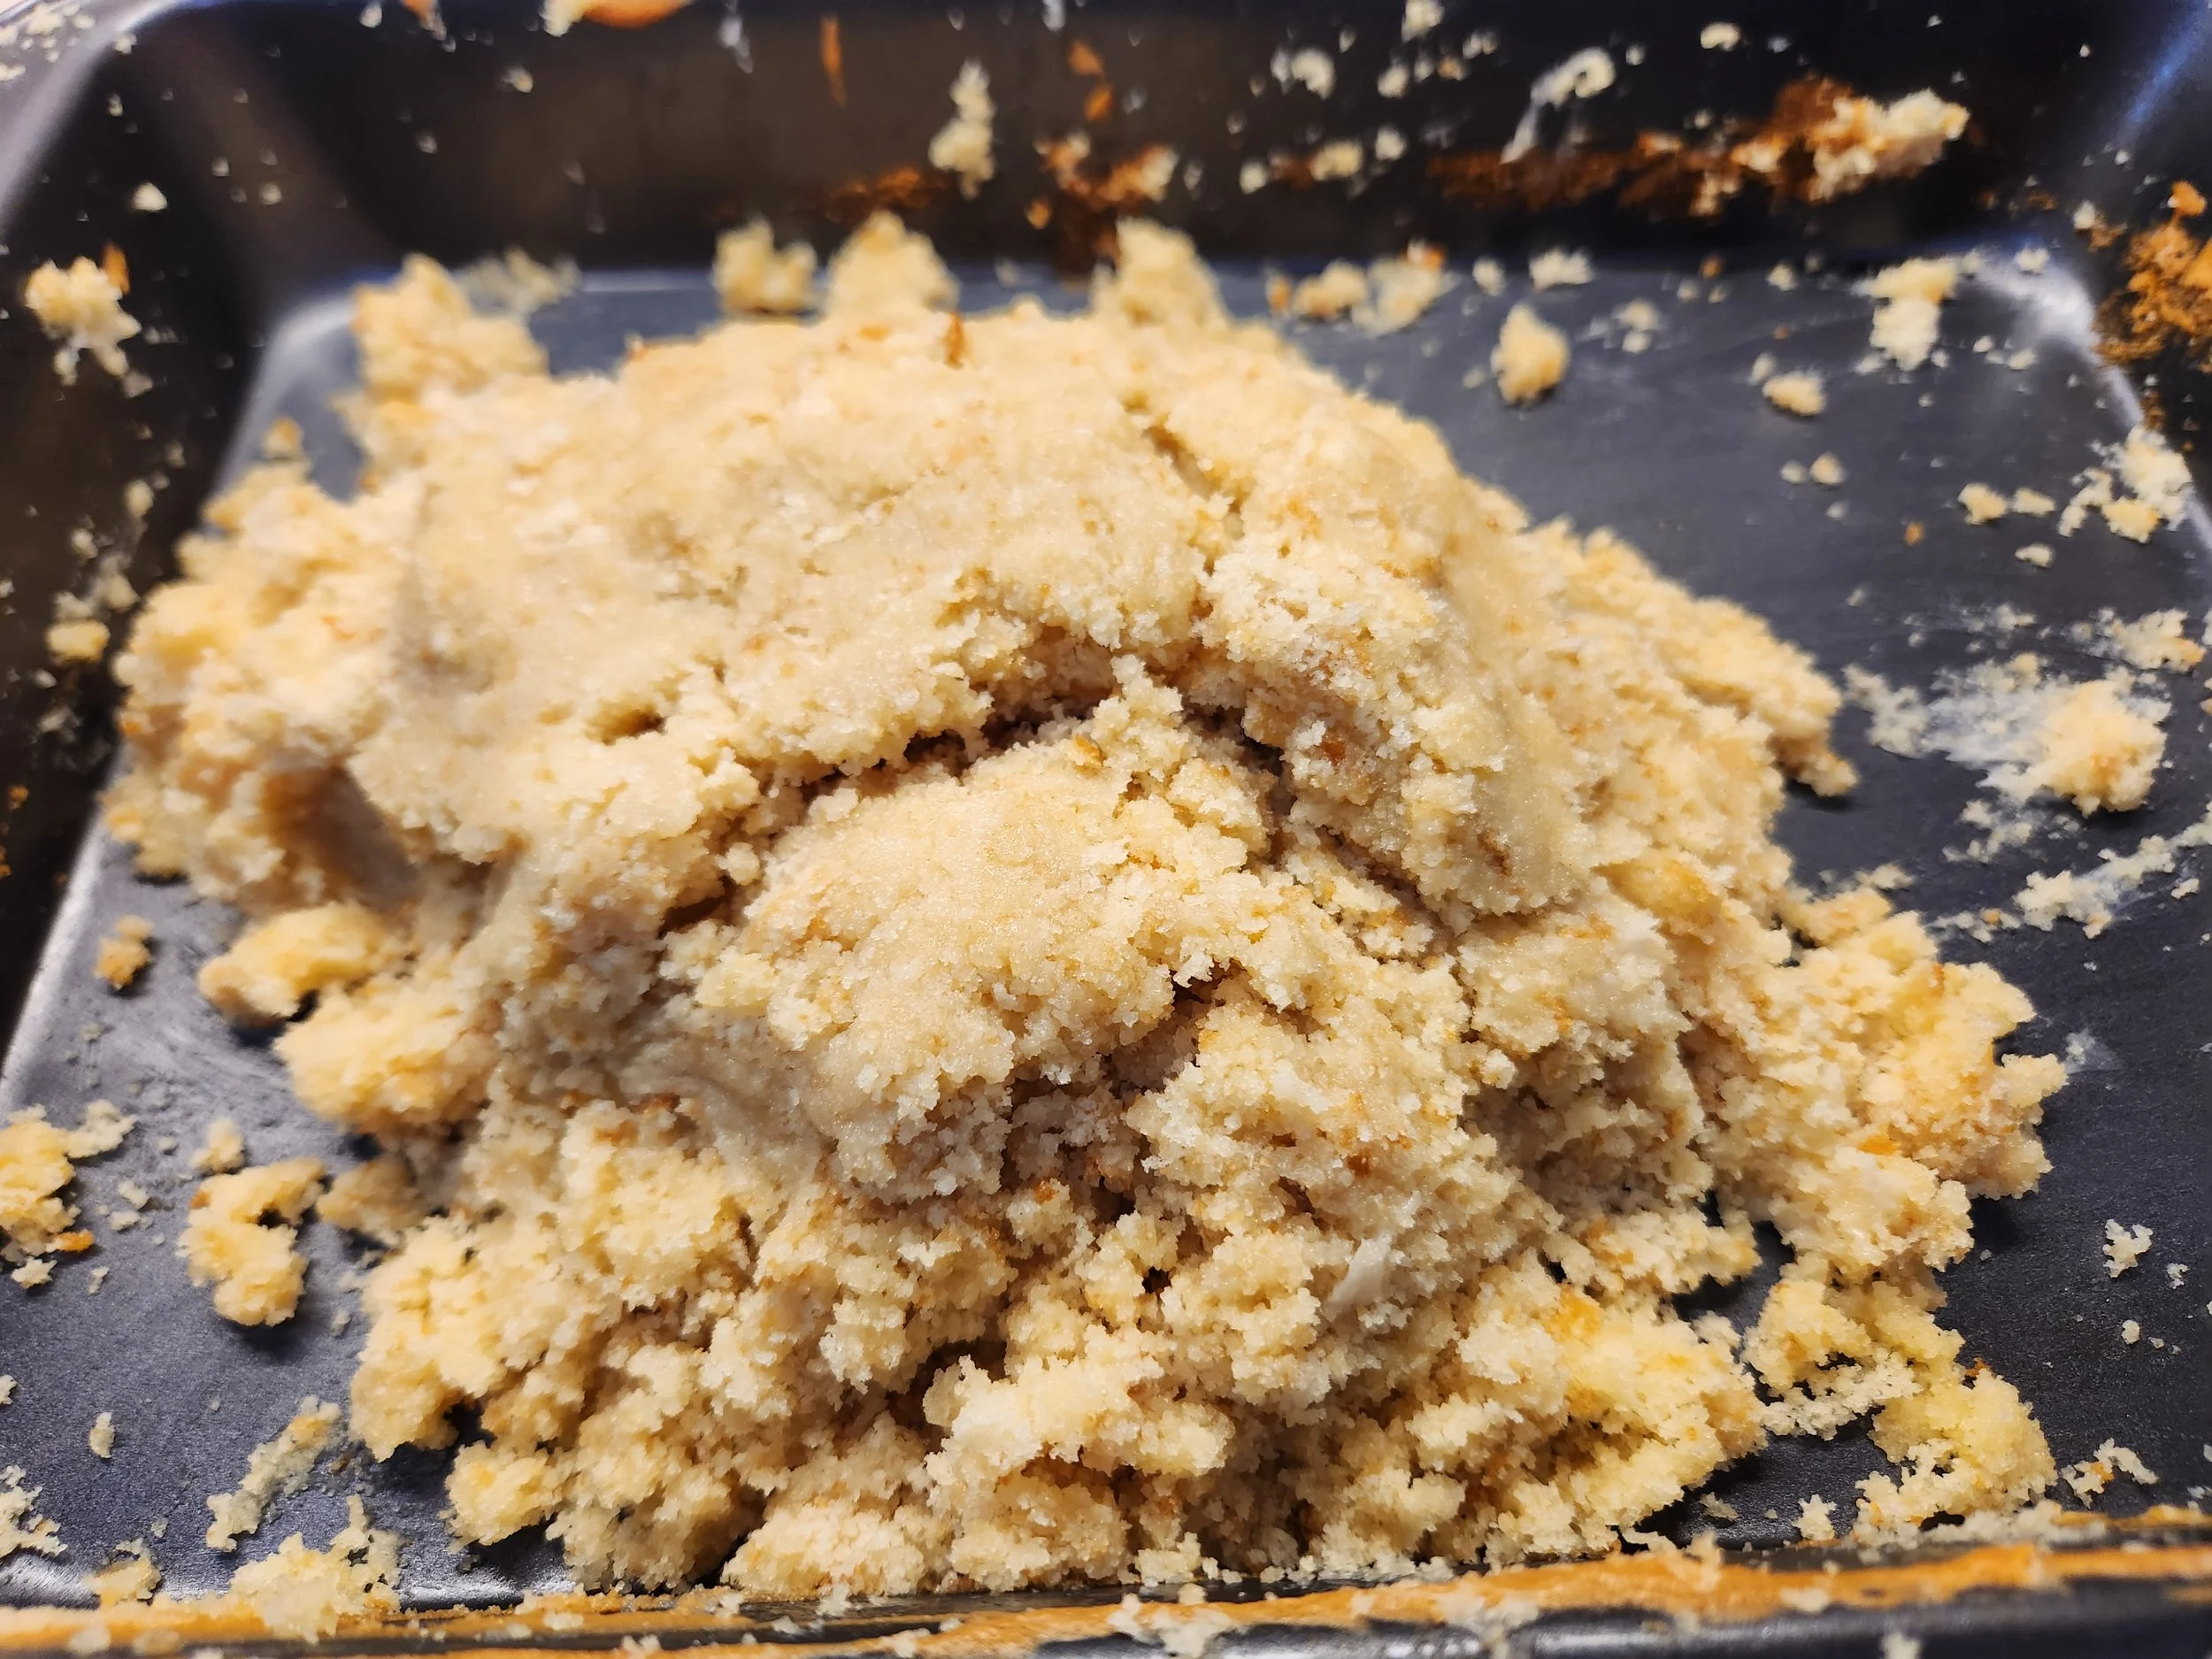
This step was my son’s favorite, next to decorating, because it meant that he got to use his hands and crumble the now cooled cake in the pan. I recommend going into this step knowing you’re going to have cake crumbs everywhere because even though he was trying to be careful, that’s still what happened. I think if I were making these again, I would place the pan on something like a cutting board or tray of some kind so that any crumbs falling over the side can be more easily added right back in.
Now that we had a pan full of crumbles, my son scooped in a few tablespoons of vanilla frosting and mixed it all together. Truthfully, after taking a quick look at the recipe and the steps involved, I didn’t reference it again as often as I probably should have (more on that later) so we just estimated how much frosting to use until it looked like everything was holding together.
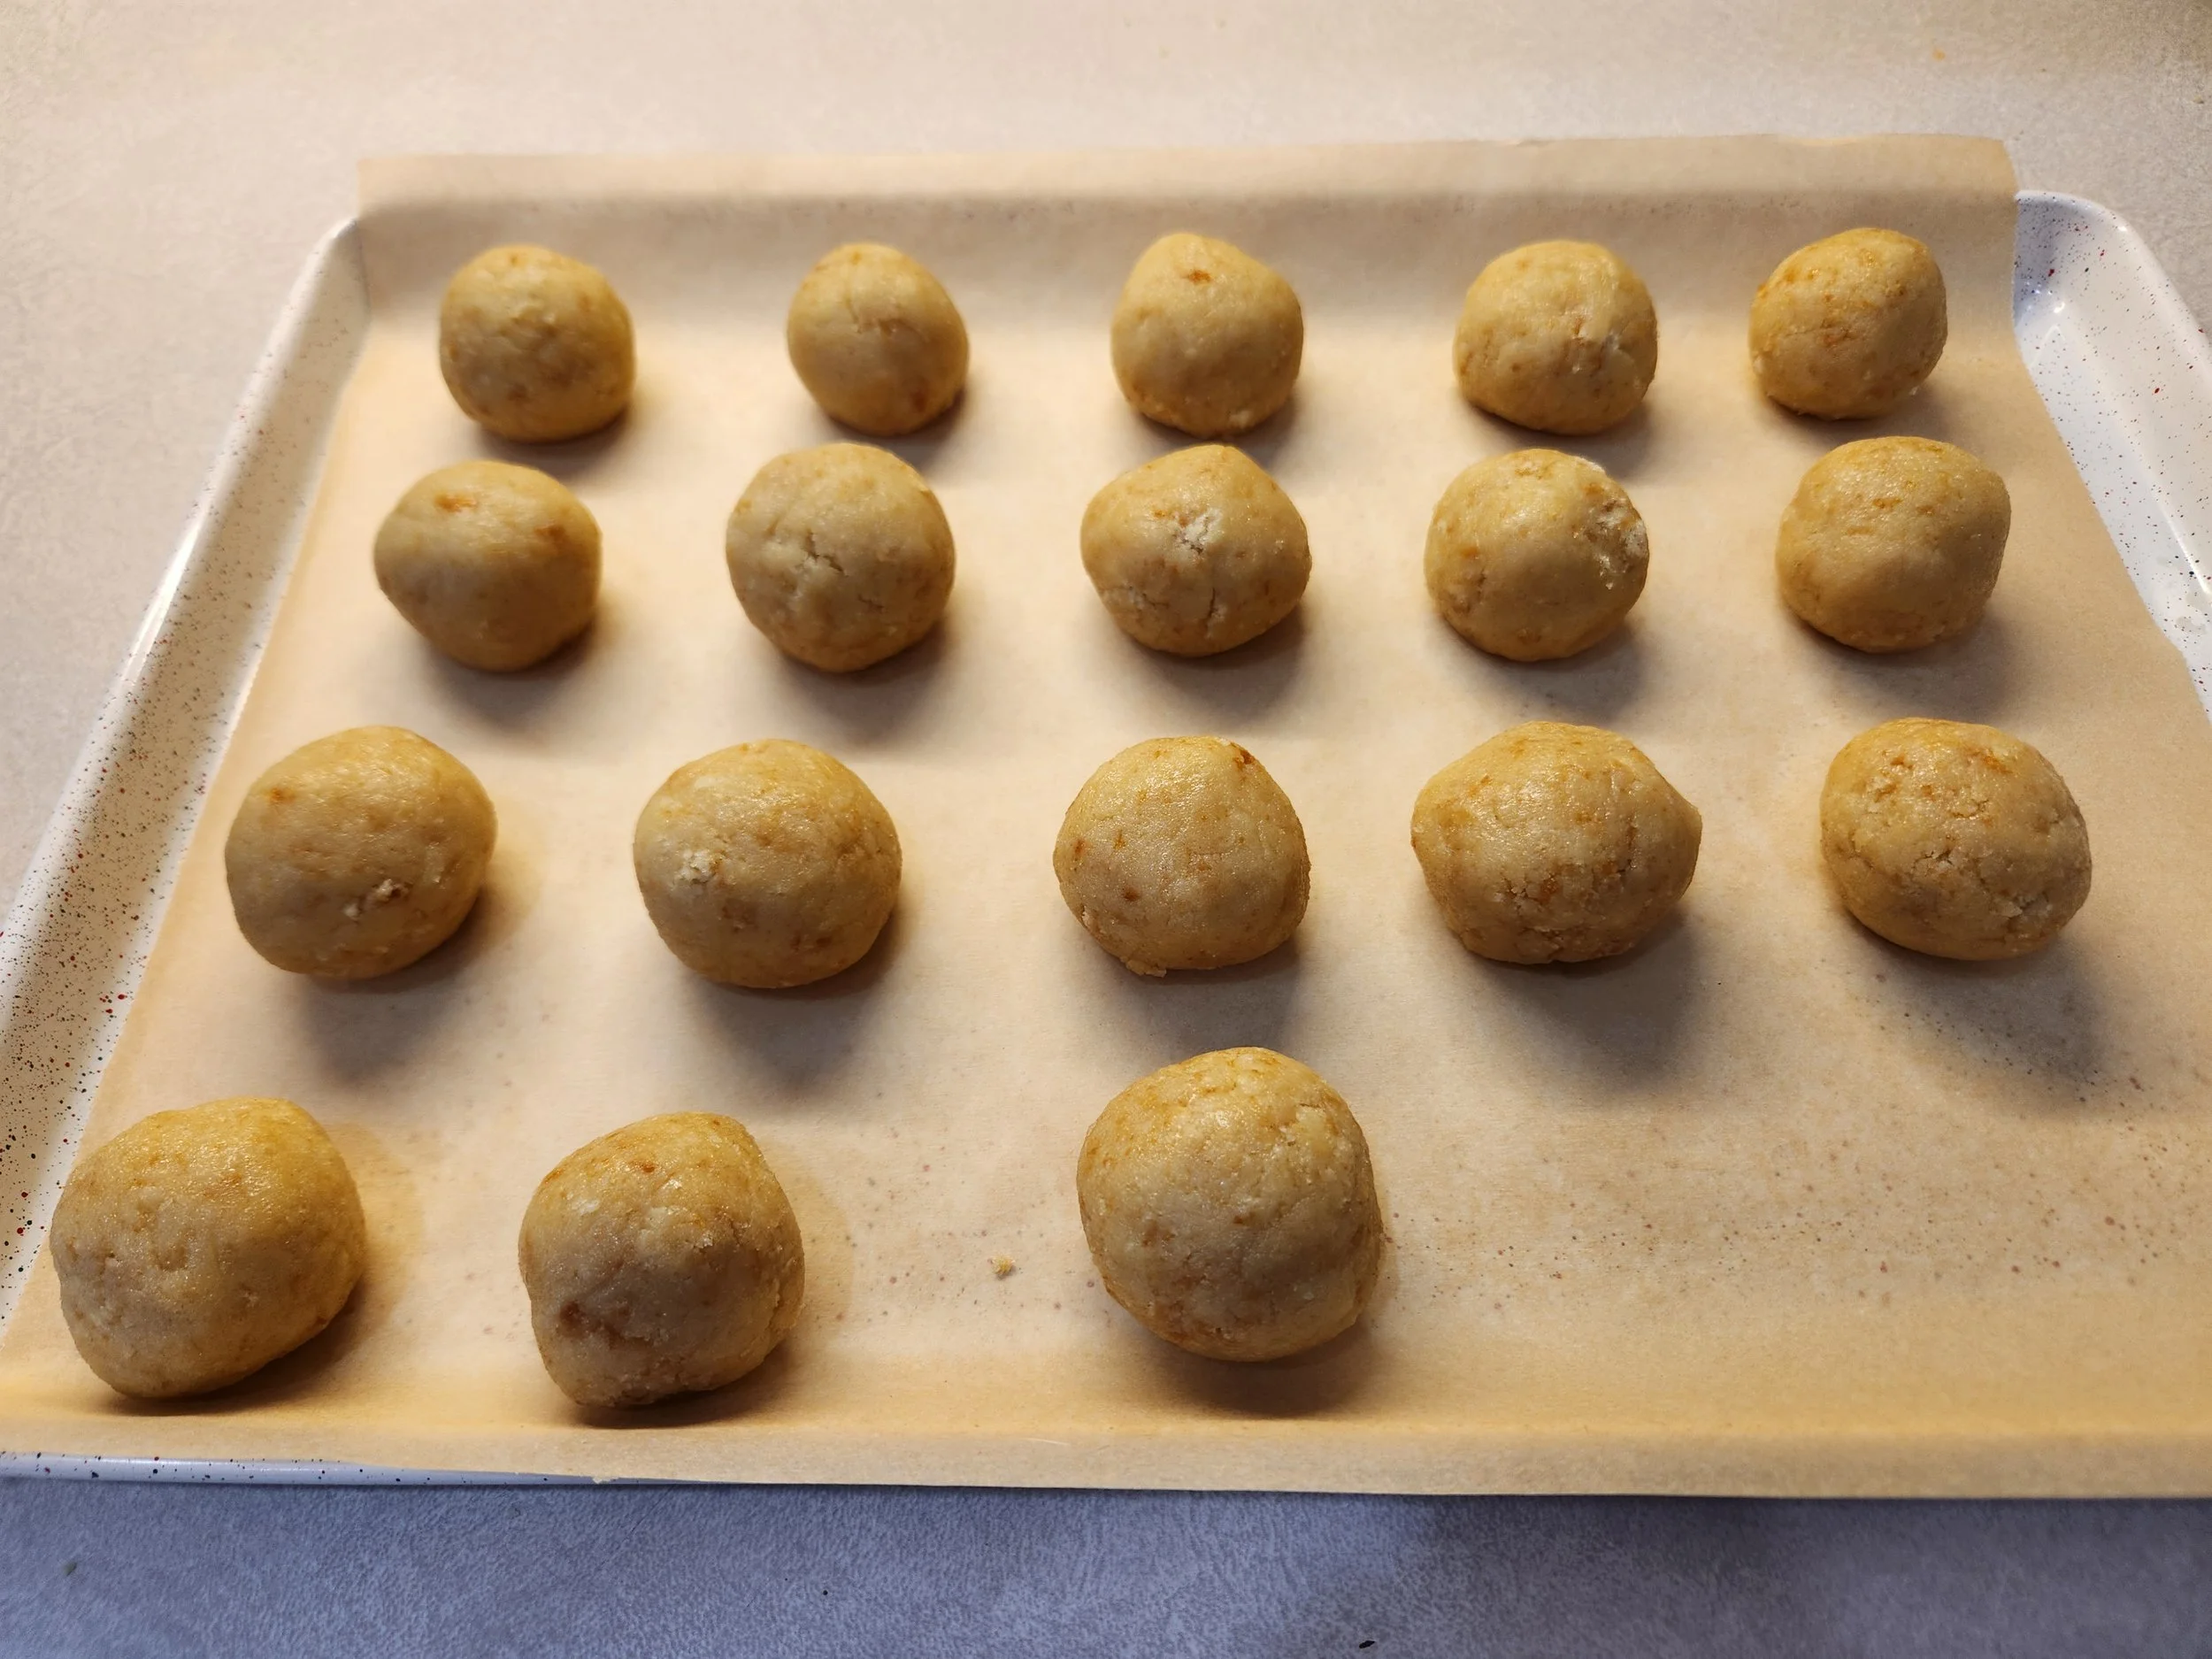
I decided, in an effort to make the balls somewhat uniform in size, I would use the cookie scooper that I have, but I think if you just used a regular spoon or even just eyeballed it, that would work perfectly fine too. I rolled each one in my hand, and my son helped with a few, but he wasn’t thrilled about how the mixture felt in his hands, so he turned to more of a supervisory role at that point.
As we finished each cake pop ball, I placed them onto a cookie sheet lined with parchment paper. Once all the cake pop balls were ready, we popped the tray into the freezer for 10 minutes, then moved it into the fridge so we could start decorating.
Decorating Our Buzz Lightyear Cake Balls
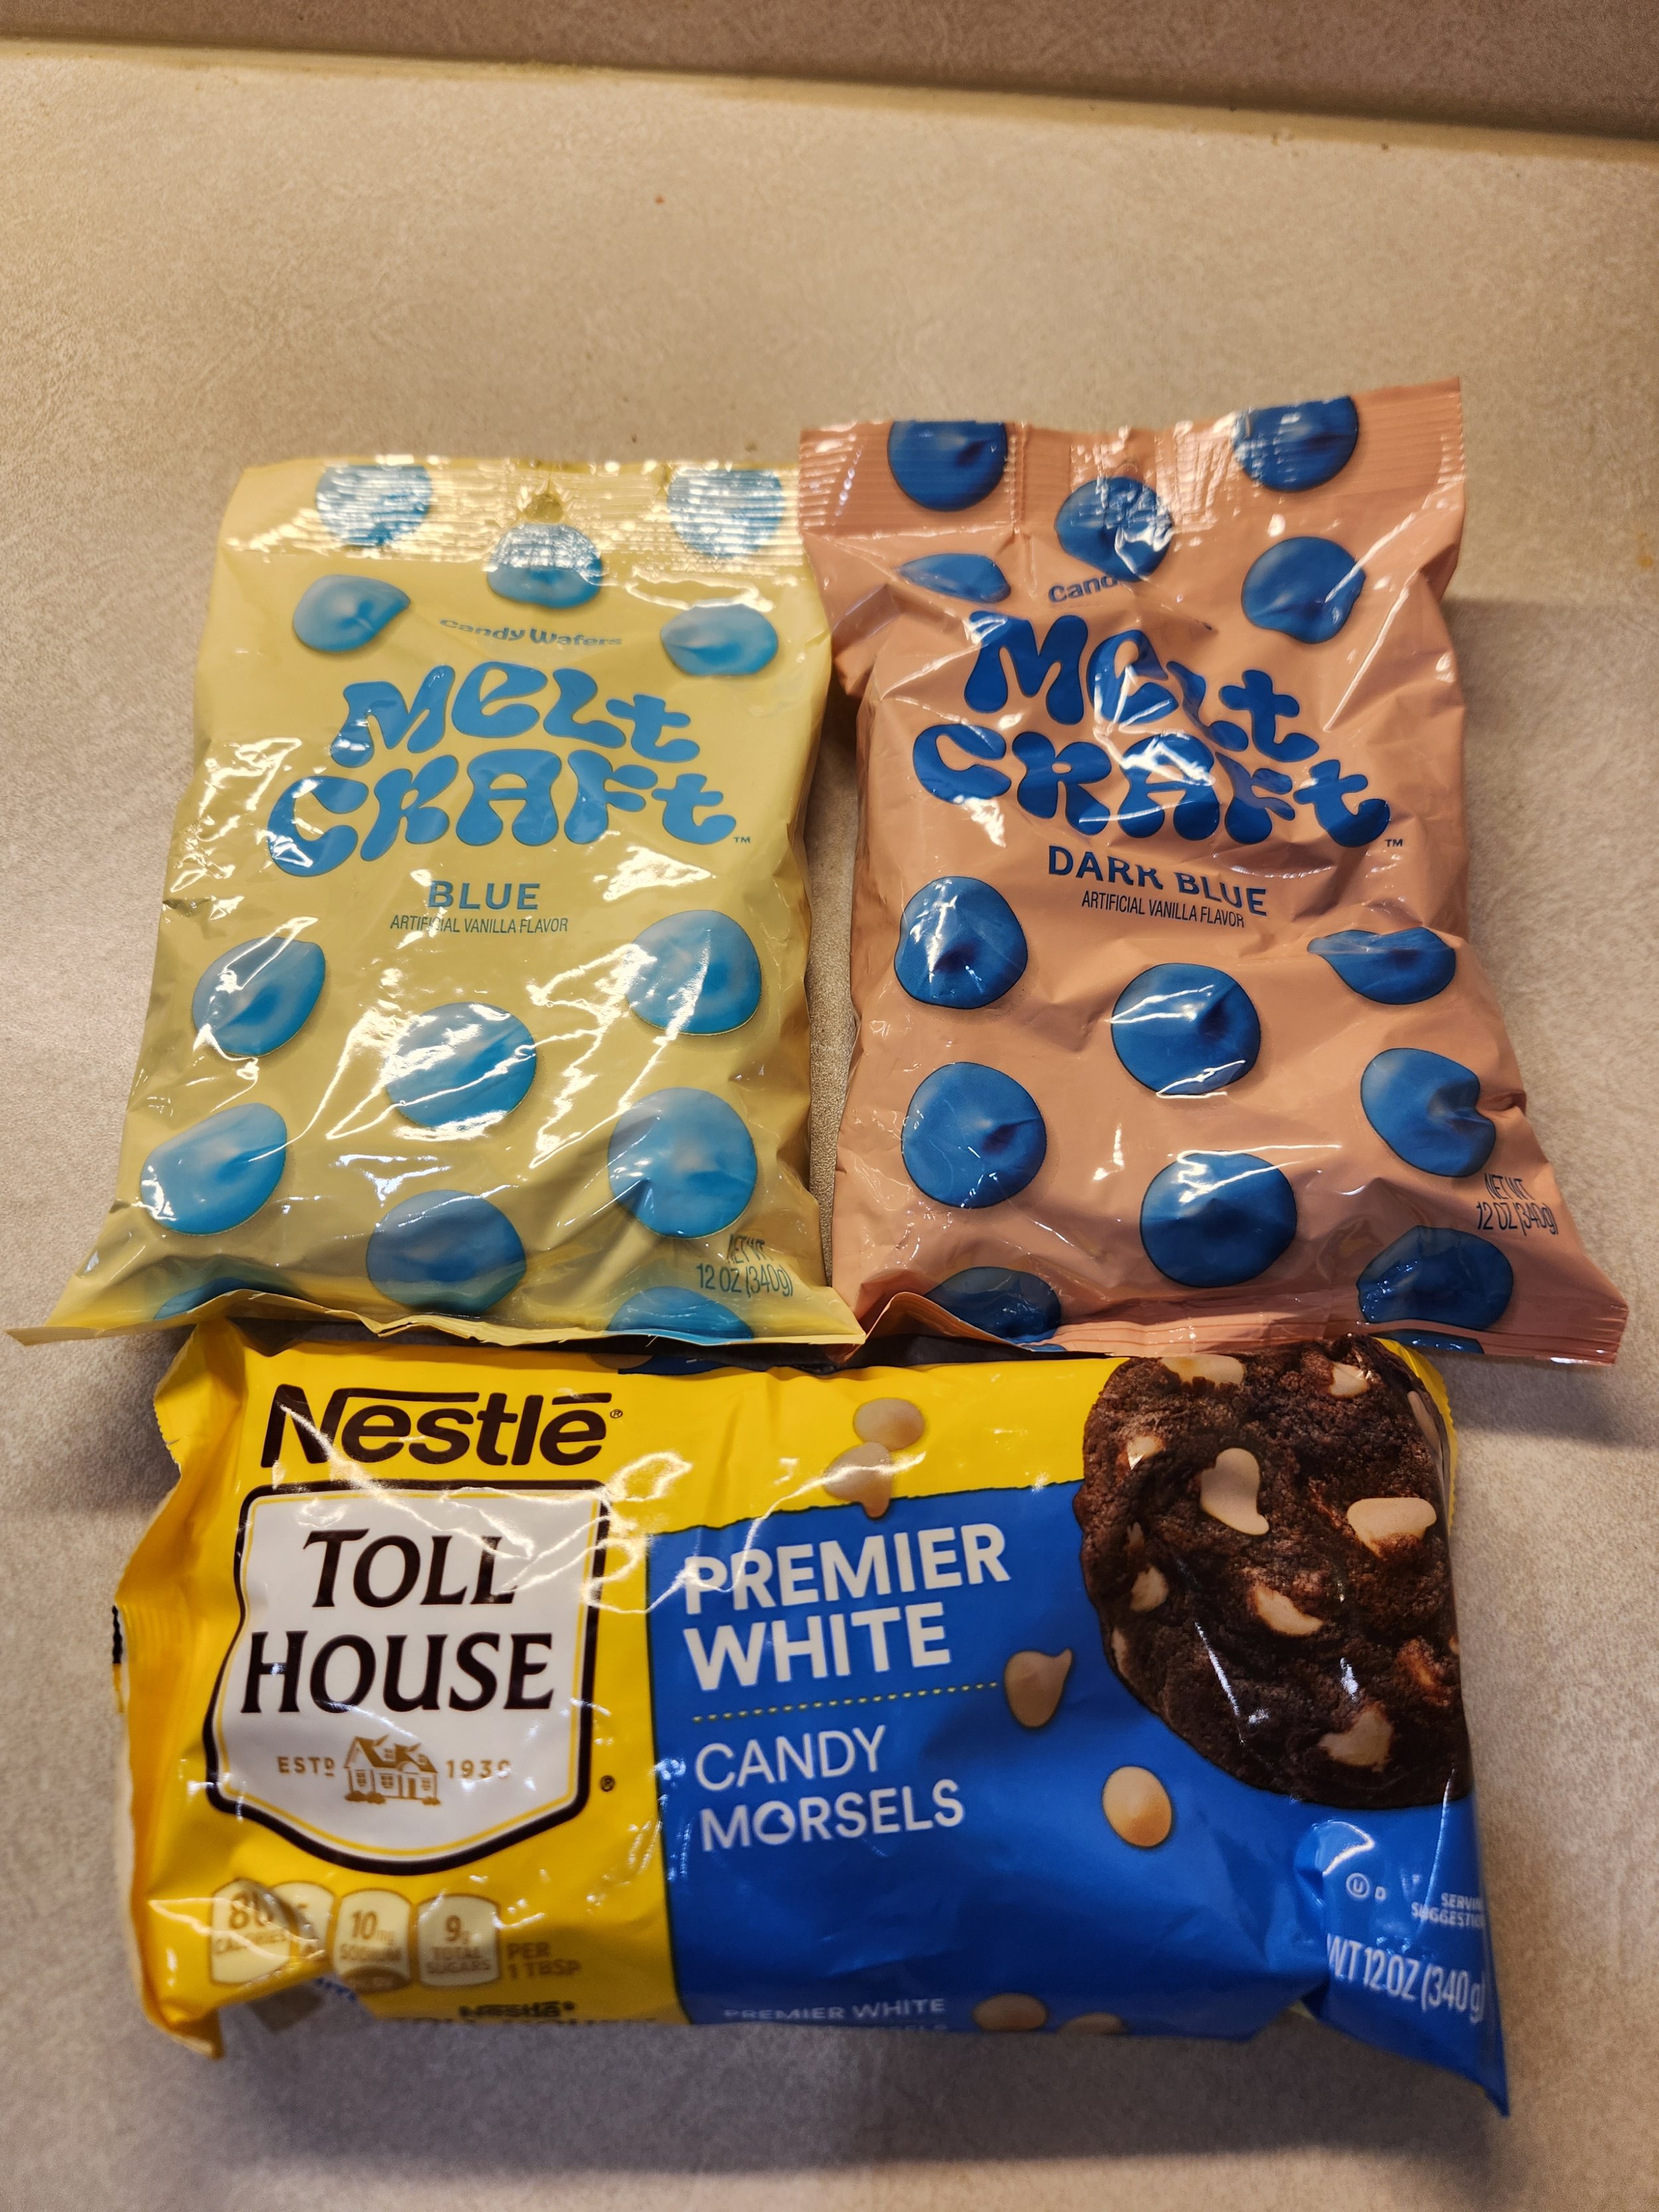
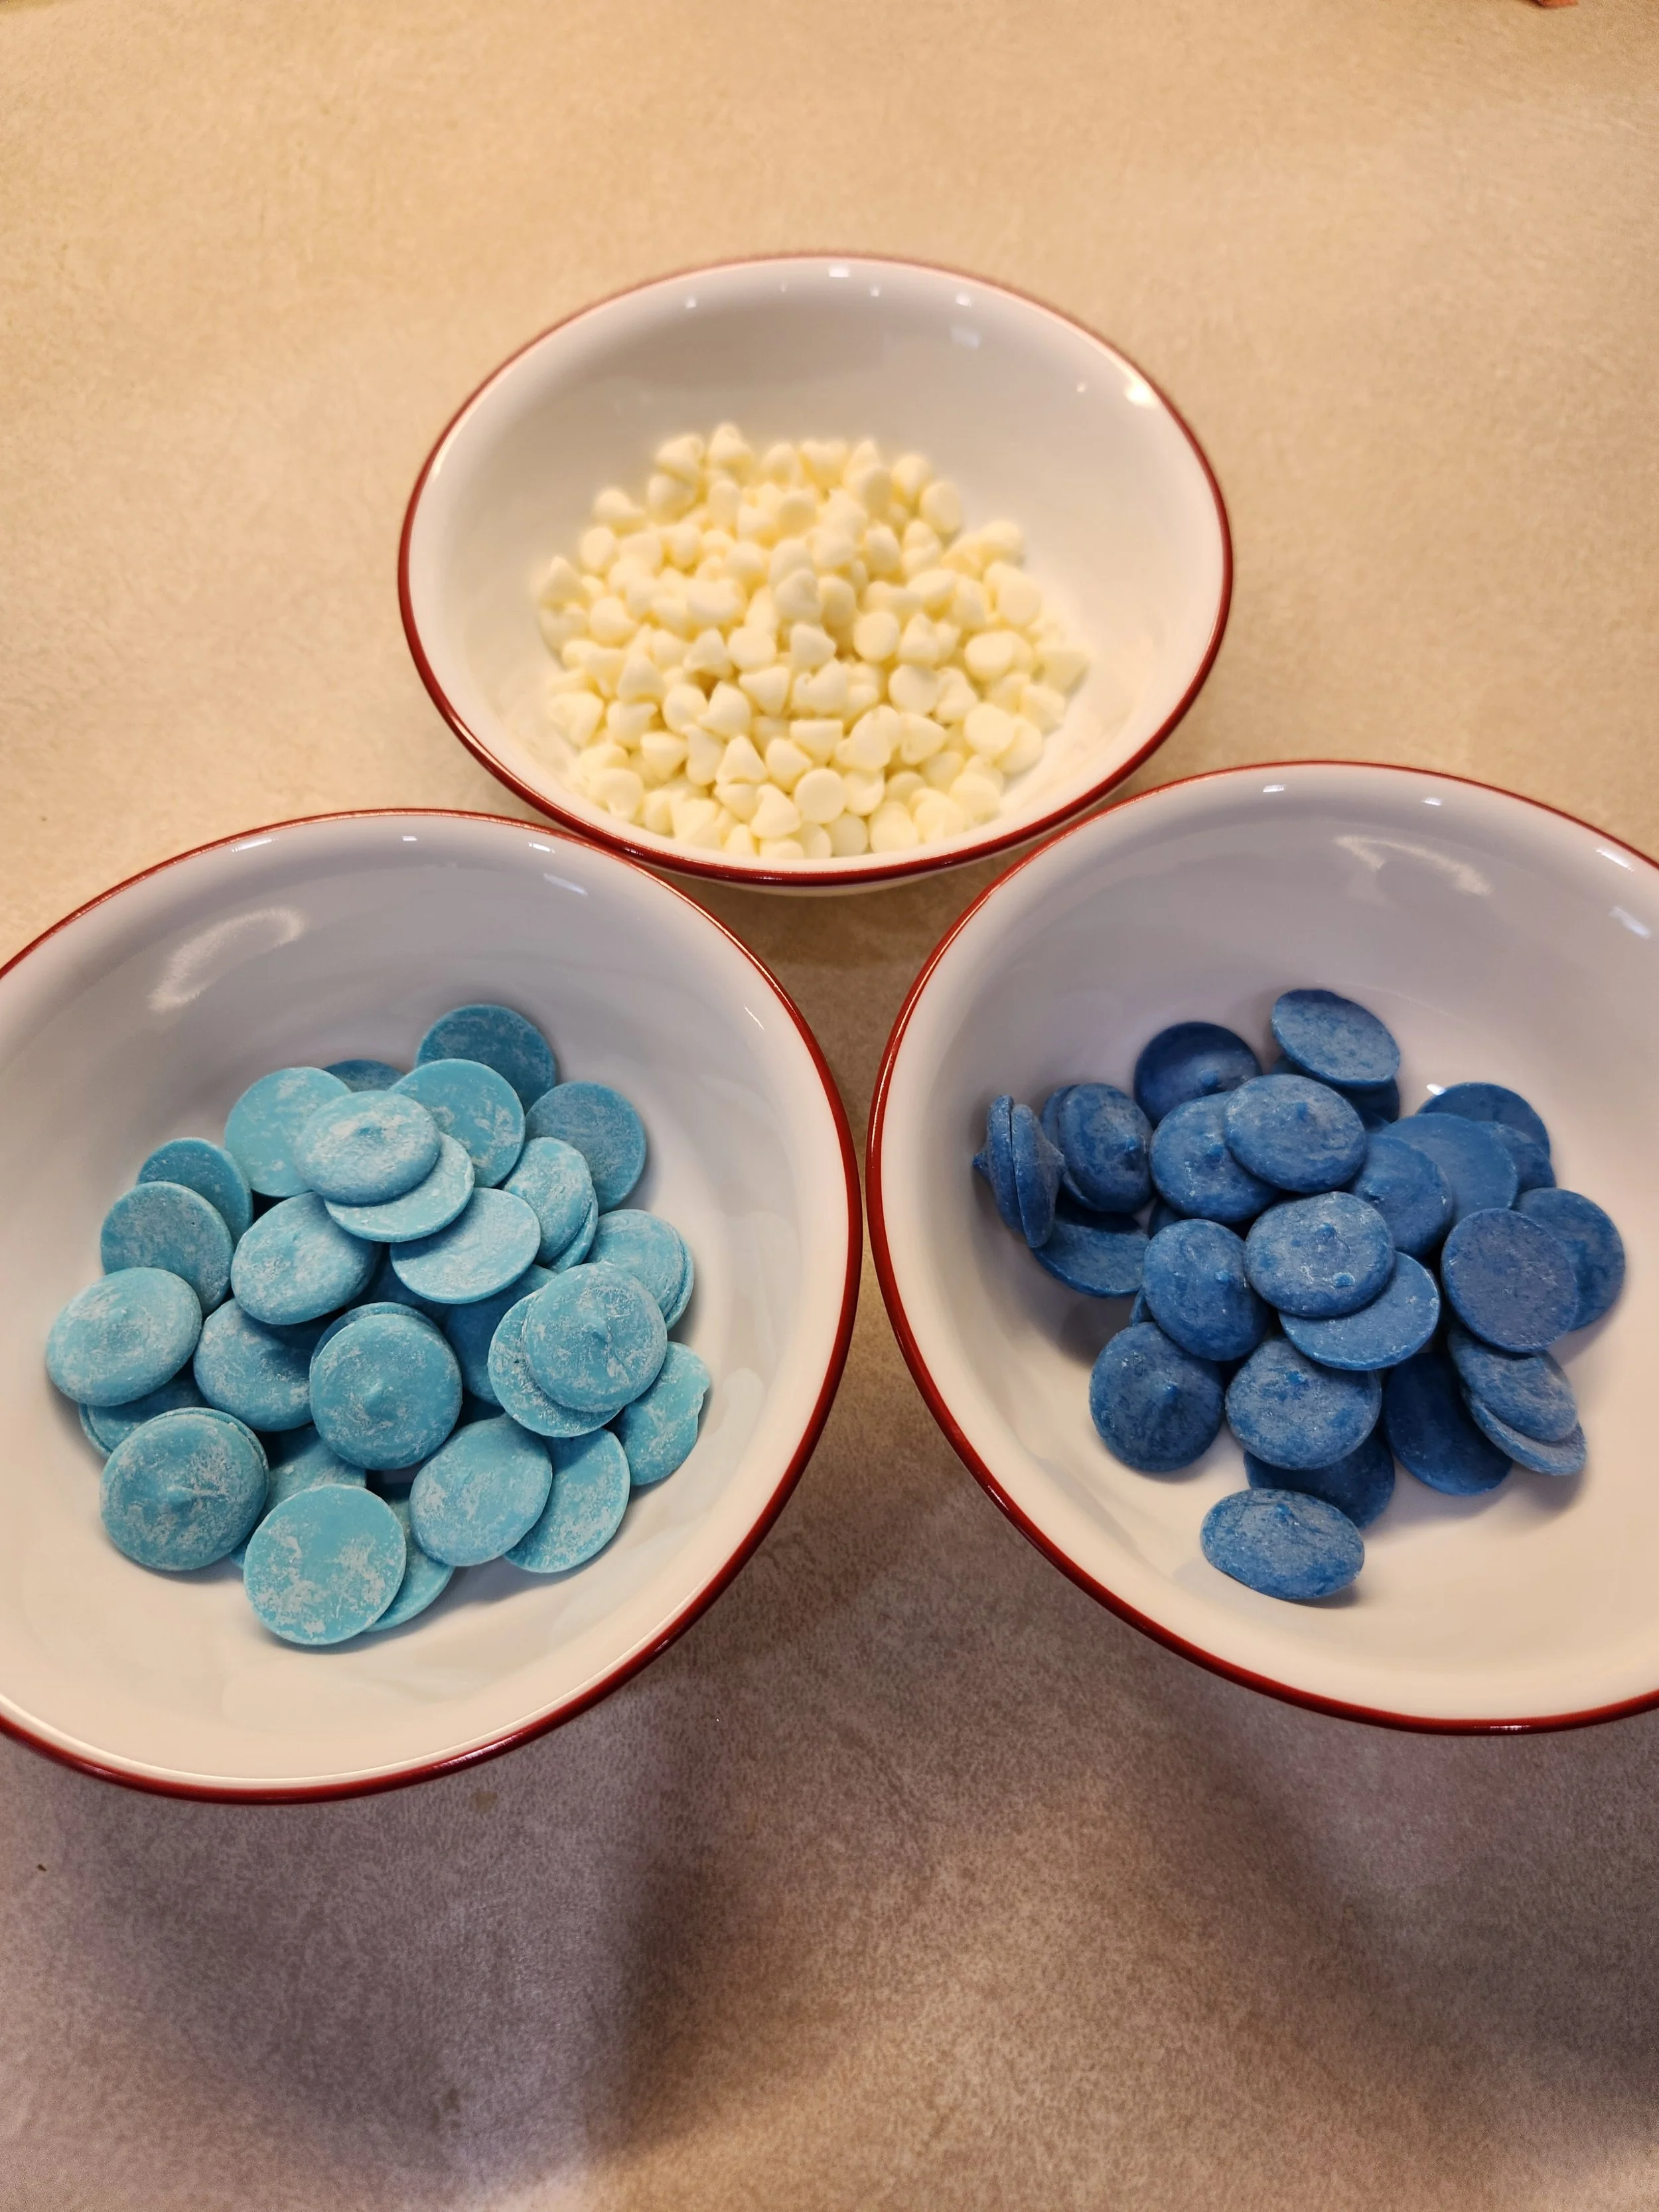
With our cake pop balls chilling in the fridge, we poured some of the colored candy melts into different microwave-safe bowls. The original recipe suggested swirling the colors together to go for a galaxy look, but my son wanted to do the colors separately.
Since I don’t often work with colored candy melts, here’s where looking at the recipe would have been really helpful. The melted candy wafers were still pretty thick, and they reharden fairly quickly too. Because we didn’t have lollipop sticks, I tried using a fork to dip each cake ball. However, they ended up just starting to break apart or fall off of the fork, so that plan didn’t work out.
Thinking quickly, I decided that we would have to just drizzle or pour the colored candy melts over the top of the cake balls while they were still on the tray and sort of paint it on instead. Had I checked the recipe quickly, I would have seen the step that I missed that probably would have made the process so much easier: adding a few drops of vegetable oil to the candy melts to help make them thinner and easier to dip and spread.
Regardless of my mishap with the melting candy wafers, my son had so much fun decorating. It didn’t matter to him that this wasn’t what the recipe said and that they came out looking differently from the picture in the recipe book. He loved taking different spoonfuls of the melted candies and pouring it onto each one, adding some sprinkles, and really making each one his own creation.
You will almost certainly end up with a lot of candy melts and sprinkles everywhere but I think that’s just part of the fun.
The Taste Test
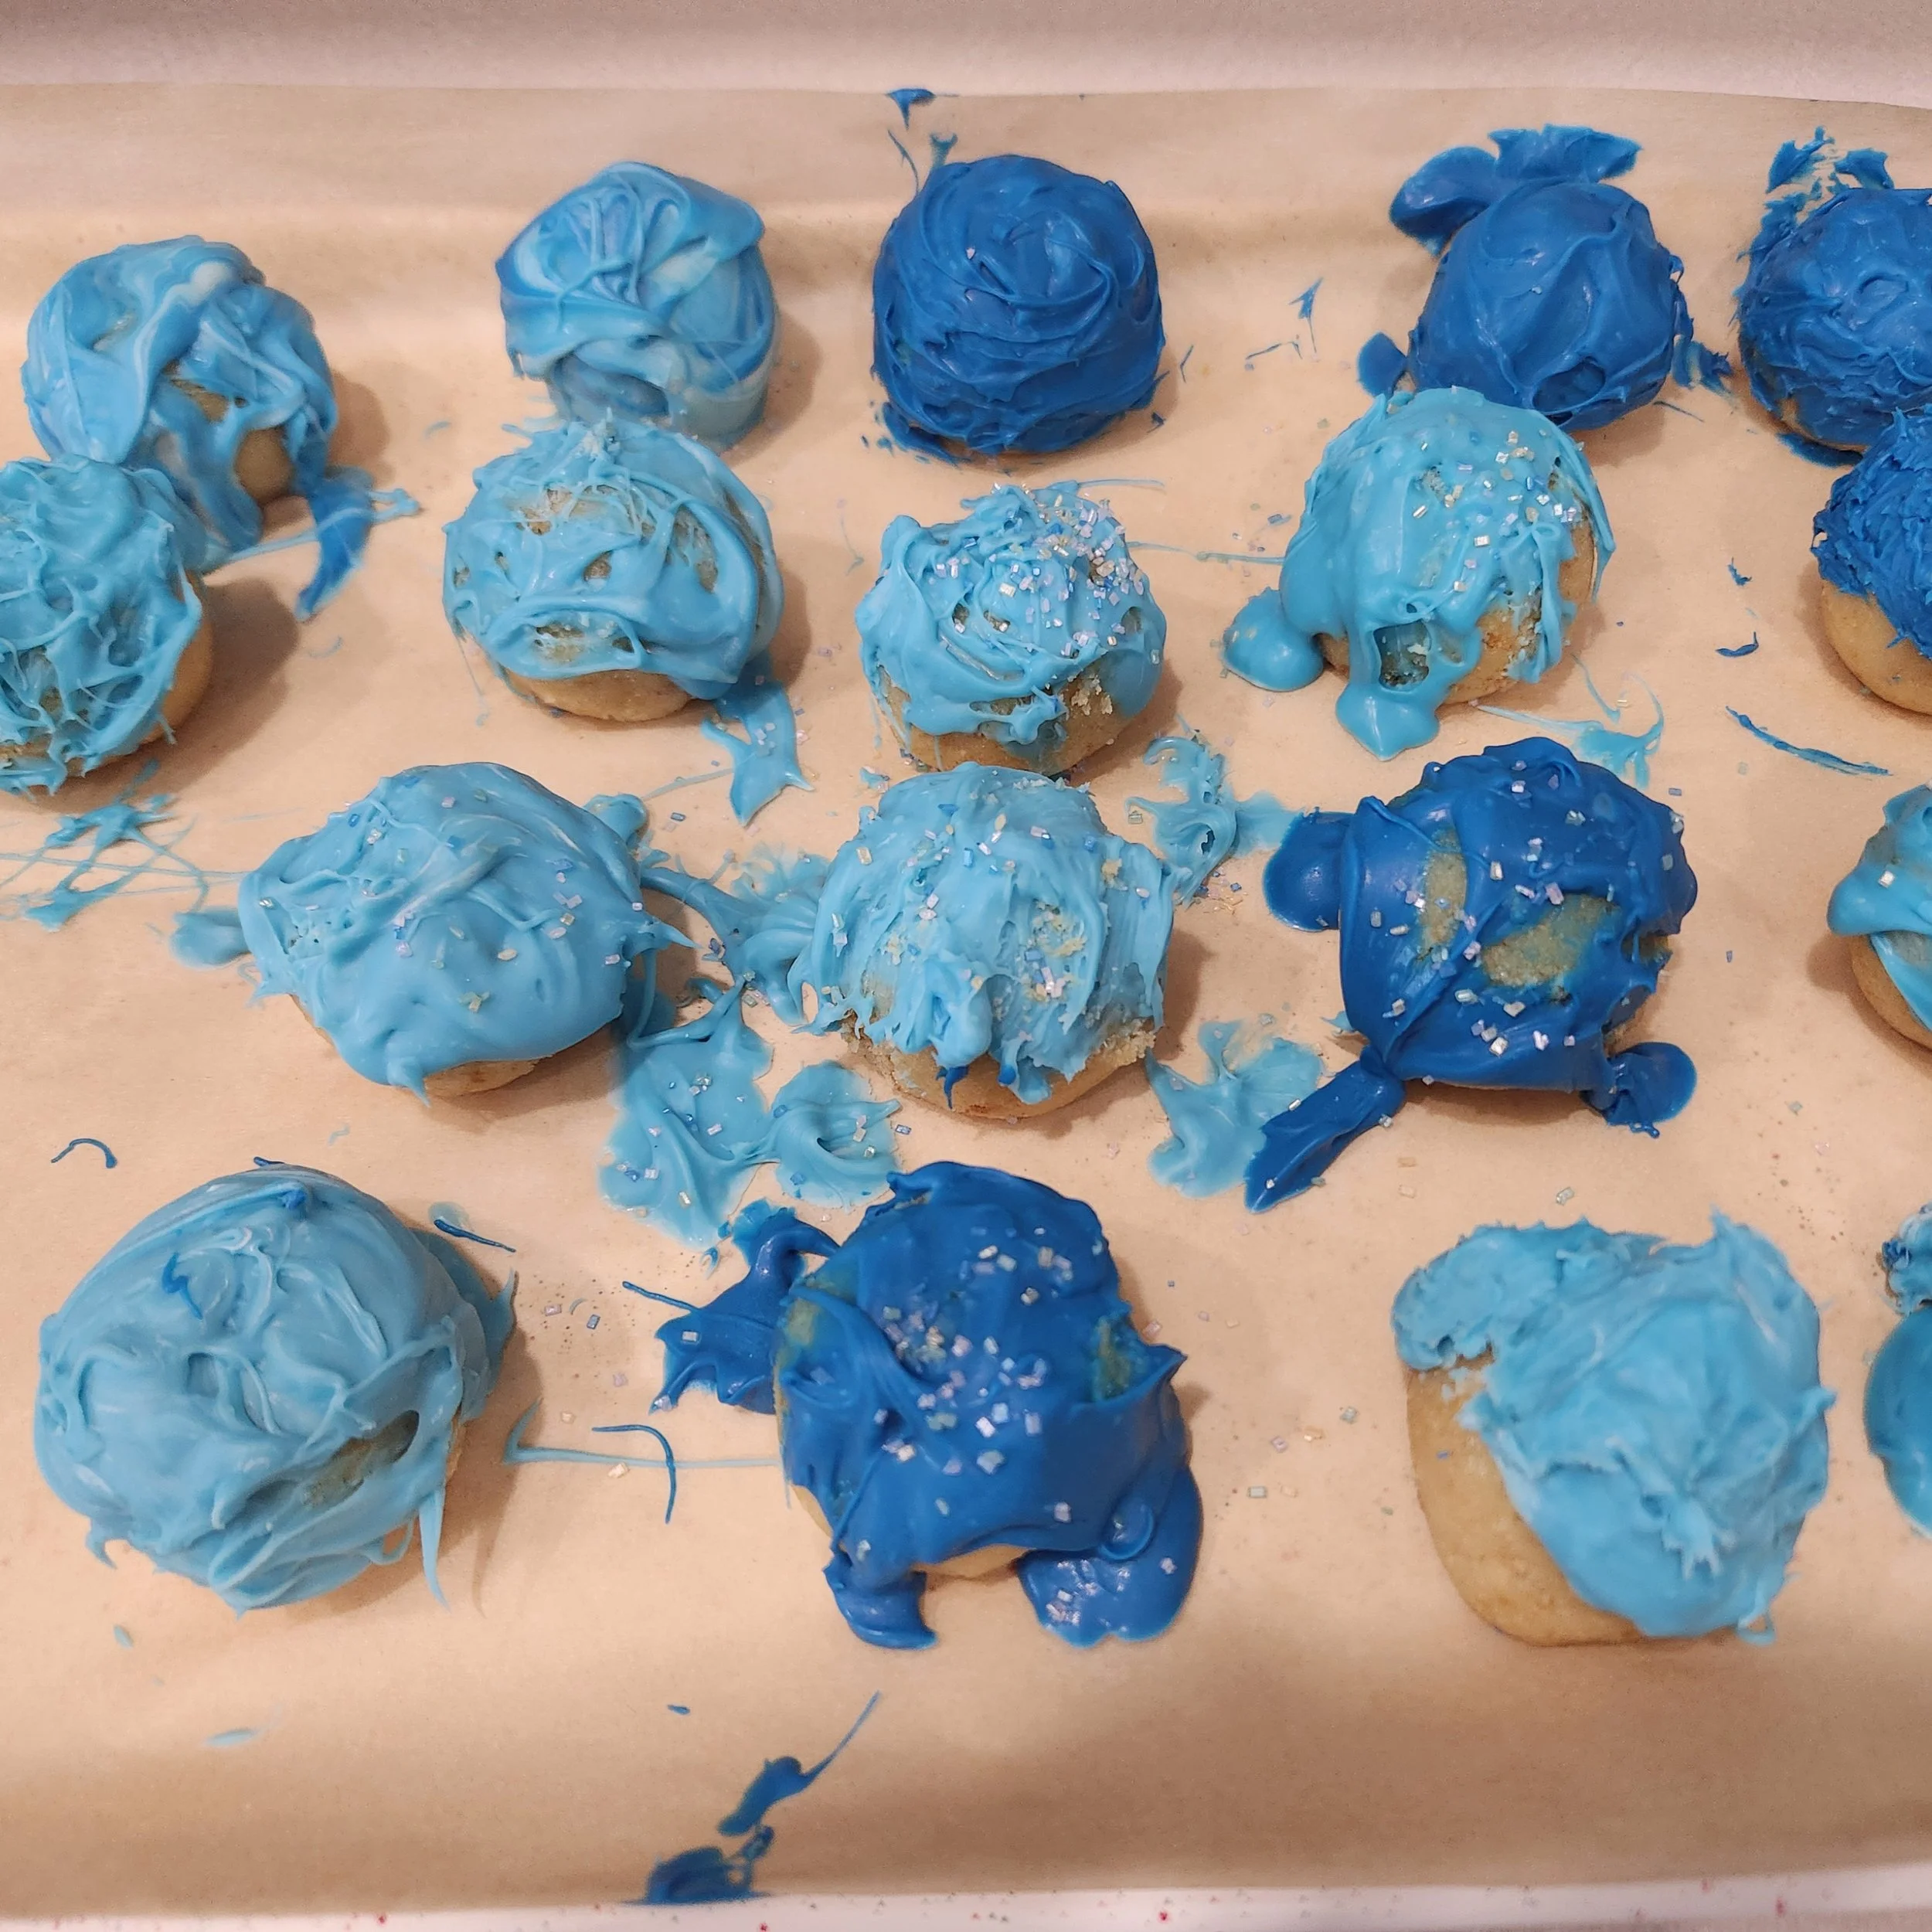
Once we finished decorating, I put the tray of cake pop balls back into the fridge for a few minutes just to make sure they wouldn’t melt. Then it was time for the taste test.
My younger son wanted absolutely no part of eating one. He enjoyed helping with the cake, but wanted nothing else to do with the cake pop balls afterwards. Truthfully, that’s more or less what I expected, but we’ll keep trying.
My older son tried a bite of one of his and decided it wasn’t his favorite treat either, but mentioned again before going to sleep that night just how much fun he had making them. Even though I’d like for them to try different things, and hopefully find other foods they enjoy, I was just happy they had fun making them.
My husband and I enjoyed the cake pop balls. Even with a thicker coating of the melting candies, they tasted really good, and their homemade look was my favorite part. They were a delicious snack to have while we watched Toy Story 5 together.
I quickly transferred them to a Ziploc baggie and they stored really well in the fridge for a few days afterward too.
Are Cake Pops Easy to Make With Young Kids?
The short answer is yes, I think that cake pops are really easy to make with young kids. Using a boxed cake mix and store-bought frosting helped save a few steps, but you could certainly make your own if you’d prefer. Pouring different ingredients into a bowl is something most kids enjoy doing, and you could even have things pre-measured if you wanted to, and the kids could just take turns pouring them right into the bowl. I like that you can use whatever flavors you want depending on what everyone likes. That didn’t necessarily help with my kids eating them, but you could get creative there.
I think most kids would enjoy getting permission to crumble an entire cake, so that is definitely a kid-friendly step in my book. You could take a few extra steps to try to minimize the inevitable crumb piles that end up on the counter afterward by placing your cake pan onto some sort of tray beforehand.
Decorating was also really simple and fun. I’m not sure if perhaps leaving the cake pop balls in the fridge longer or using lollipop sticks would have made the decorating easier, but we still managed to find a way that worked in the end and that my son really enjoyed.
There is a fair amount of waiting in between steps as the cake cools and then the cake pops chill, but I think if you let your kids know what to expect ahead of time, that can help. I also really liked how easily I could store them, and if your kids enjoy them, they could be a fun treat to add to their school lunches during the week.
Overall, I would definitely try these again and encourage my toddler to try his hand at the decorating part too because I think he would have had a lot of fun.